

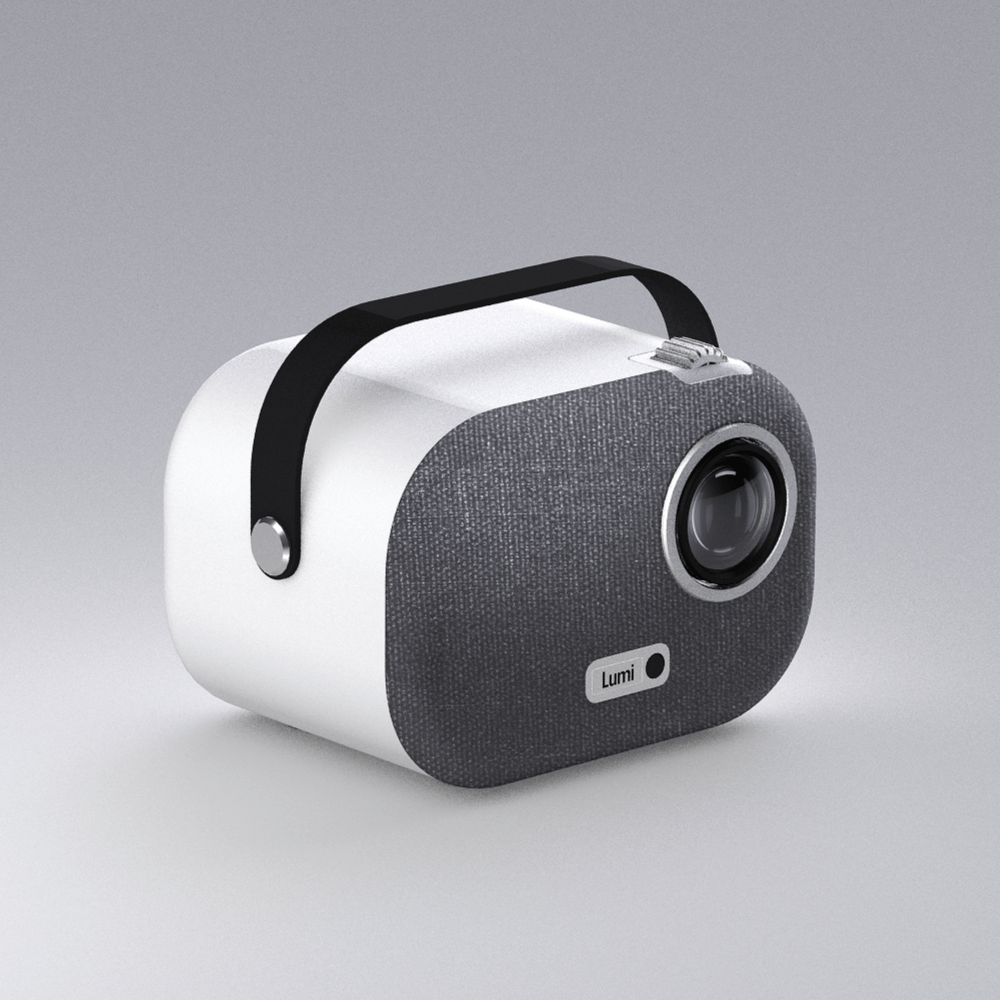

LUMI-1 Smart Projector
- Android 9.0 OS
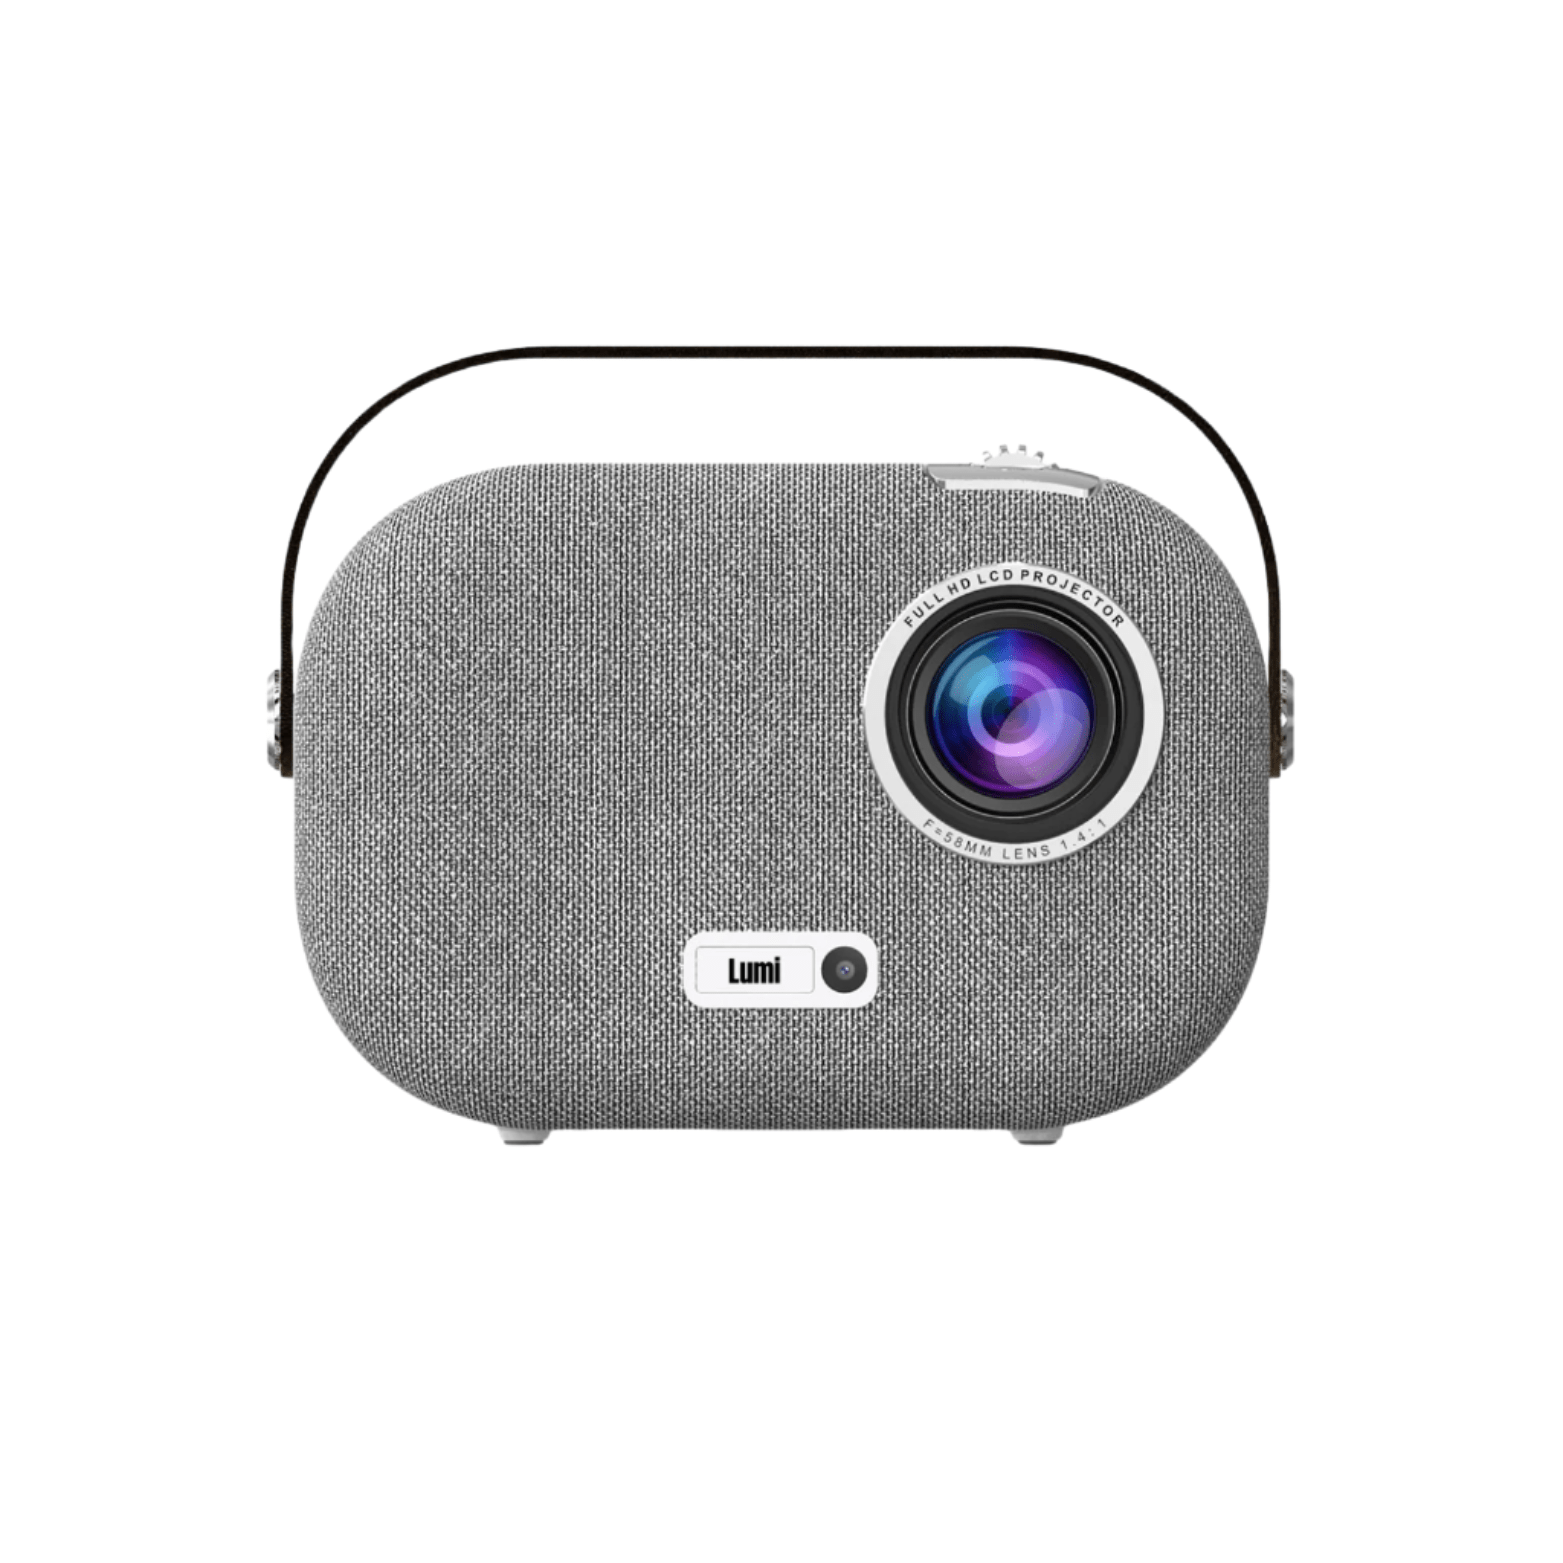
- 1080P Full HD & 4K Compatibility
- 200 ANSI Lumens Brightness
- 50-200 Inches Screen
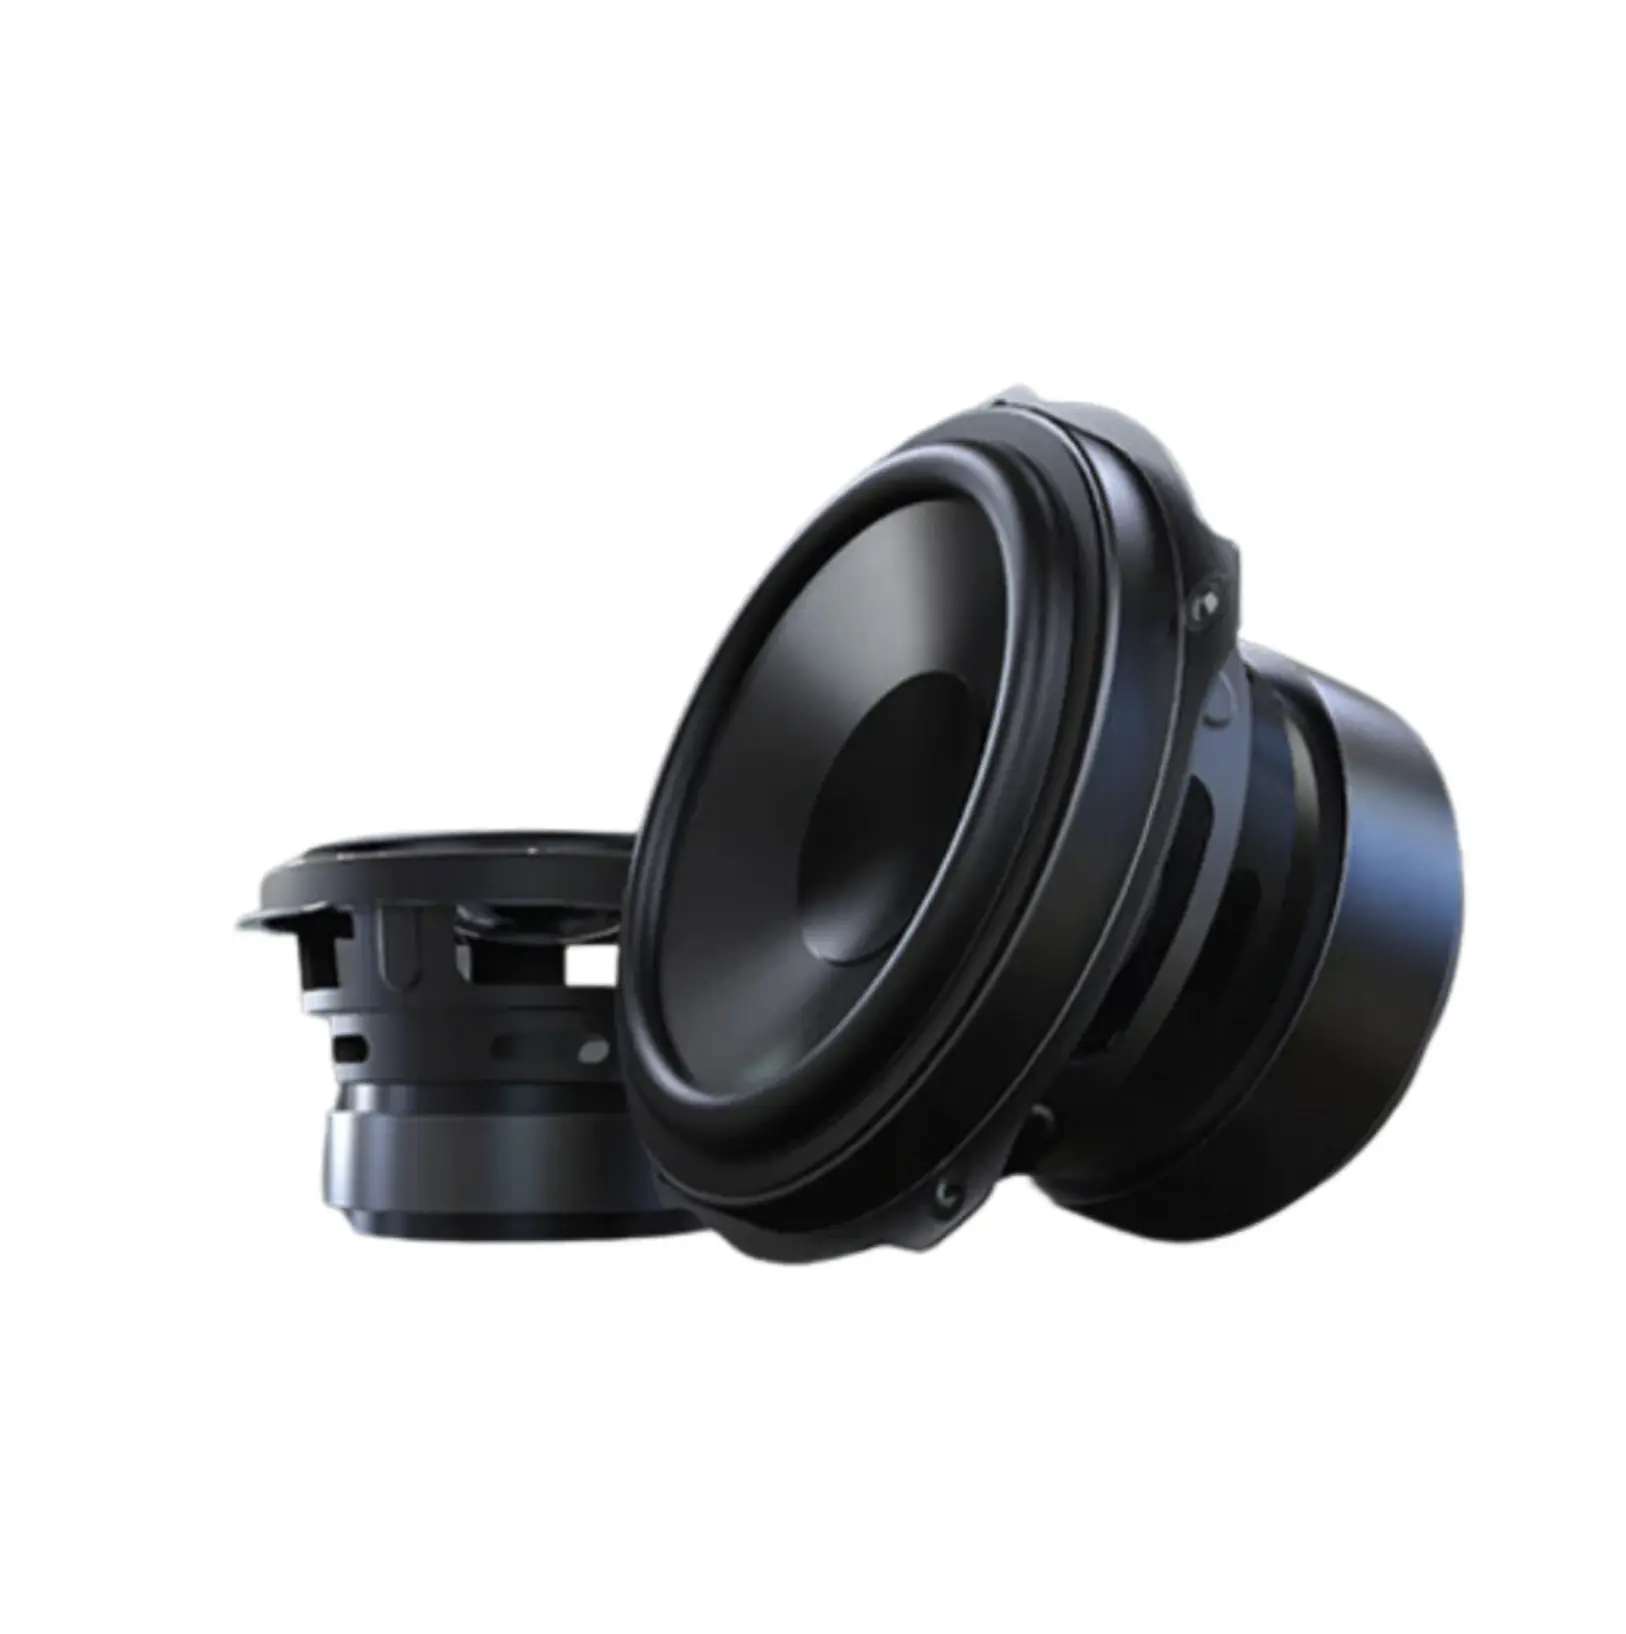
- 2x5W Speakers
- 4-Point Keystone Correction
- Manual Zoom & Focus
- 2G RAM & 32GB Storage
- Dual 5GHz (2.4G) Wi-Fi
- Bluetooth 5.0
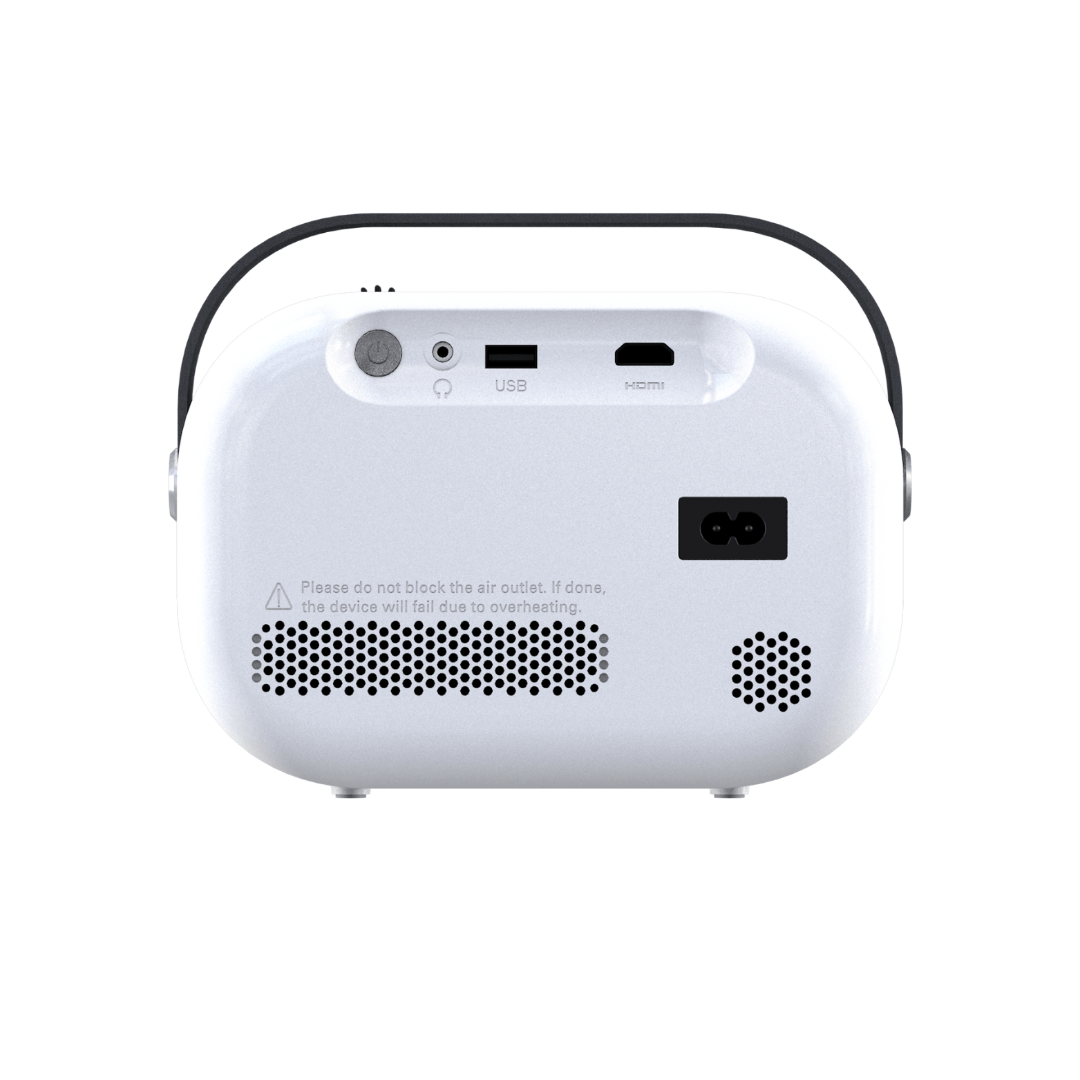
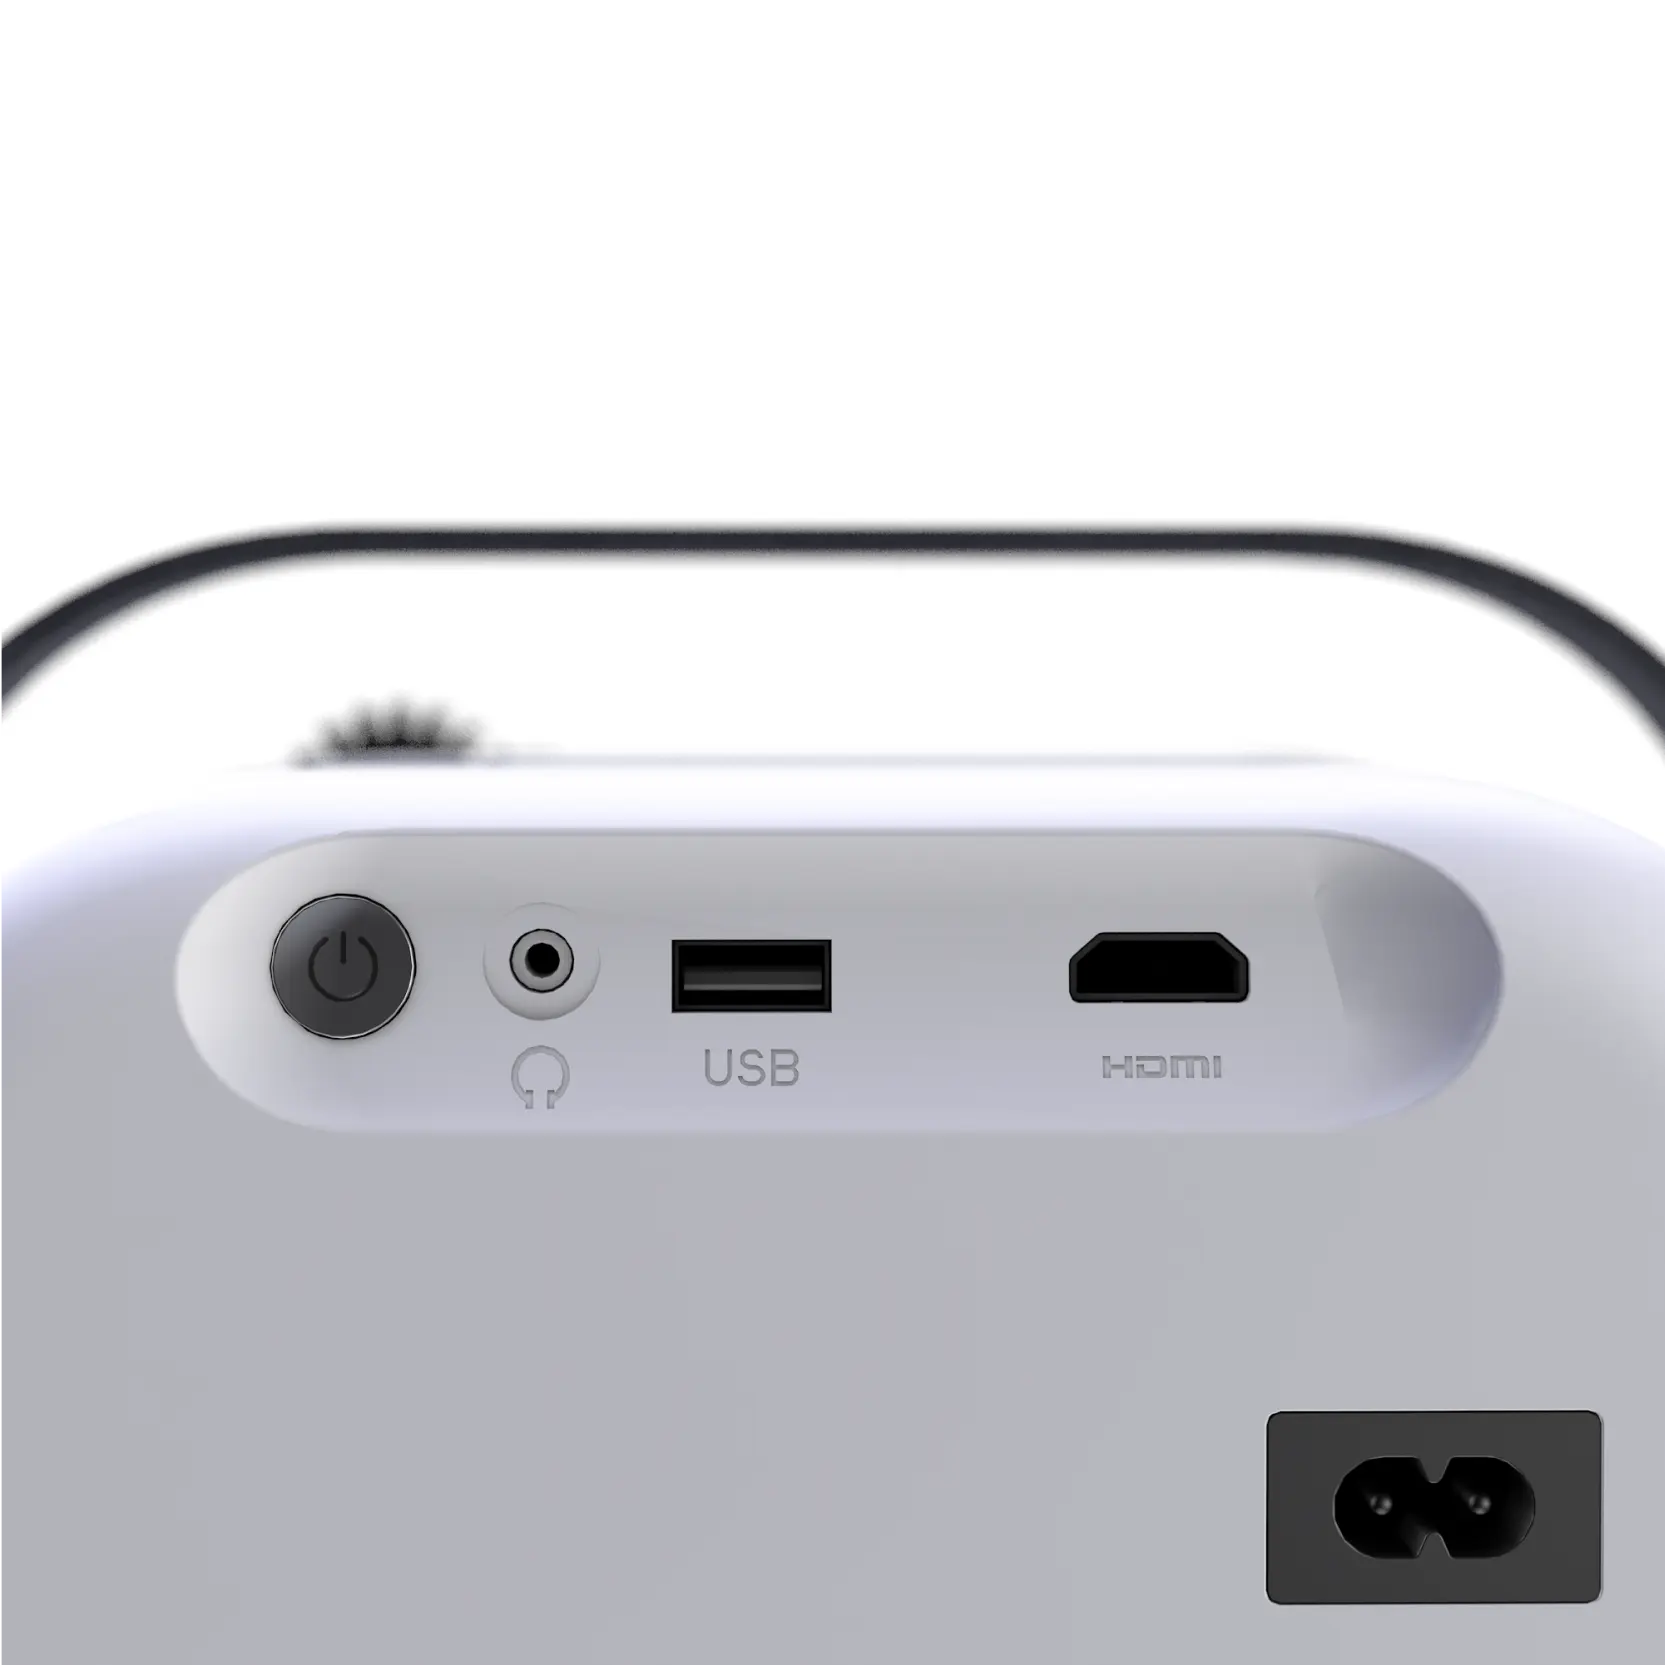
- HDMI, USB & Aux Compatible
- 2.8 Pounds
Pairs well with
Free, fast shipping
Human support 7 days/week
1-year warranty included
30-day free & easy returns
LUMI-1 Smart Projector
If you have any questions, you are always welcome to contact us. We'll get back to you as soon as possible, within 24 hours on weekdays.
-
Shipping Information
Use this text to answer questions in as much detail as possible for your customers.
-
Customer Support
Use this text to answer questions in as much detail as possible for your customers.
-
FAQ’s
Use this text to answer questions in as much detail as possible for your customers.
-
Contact Us
Use this text to answer questions in as much detail as possible for your customers.
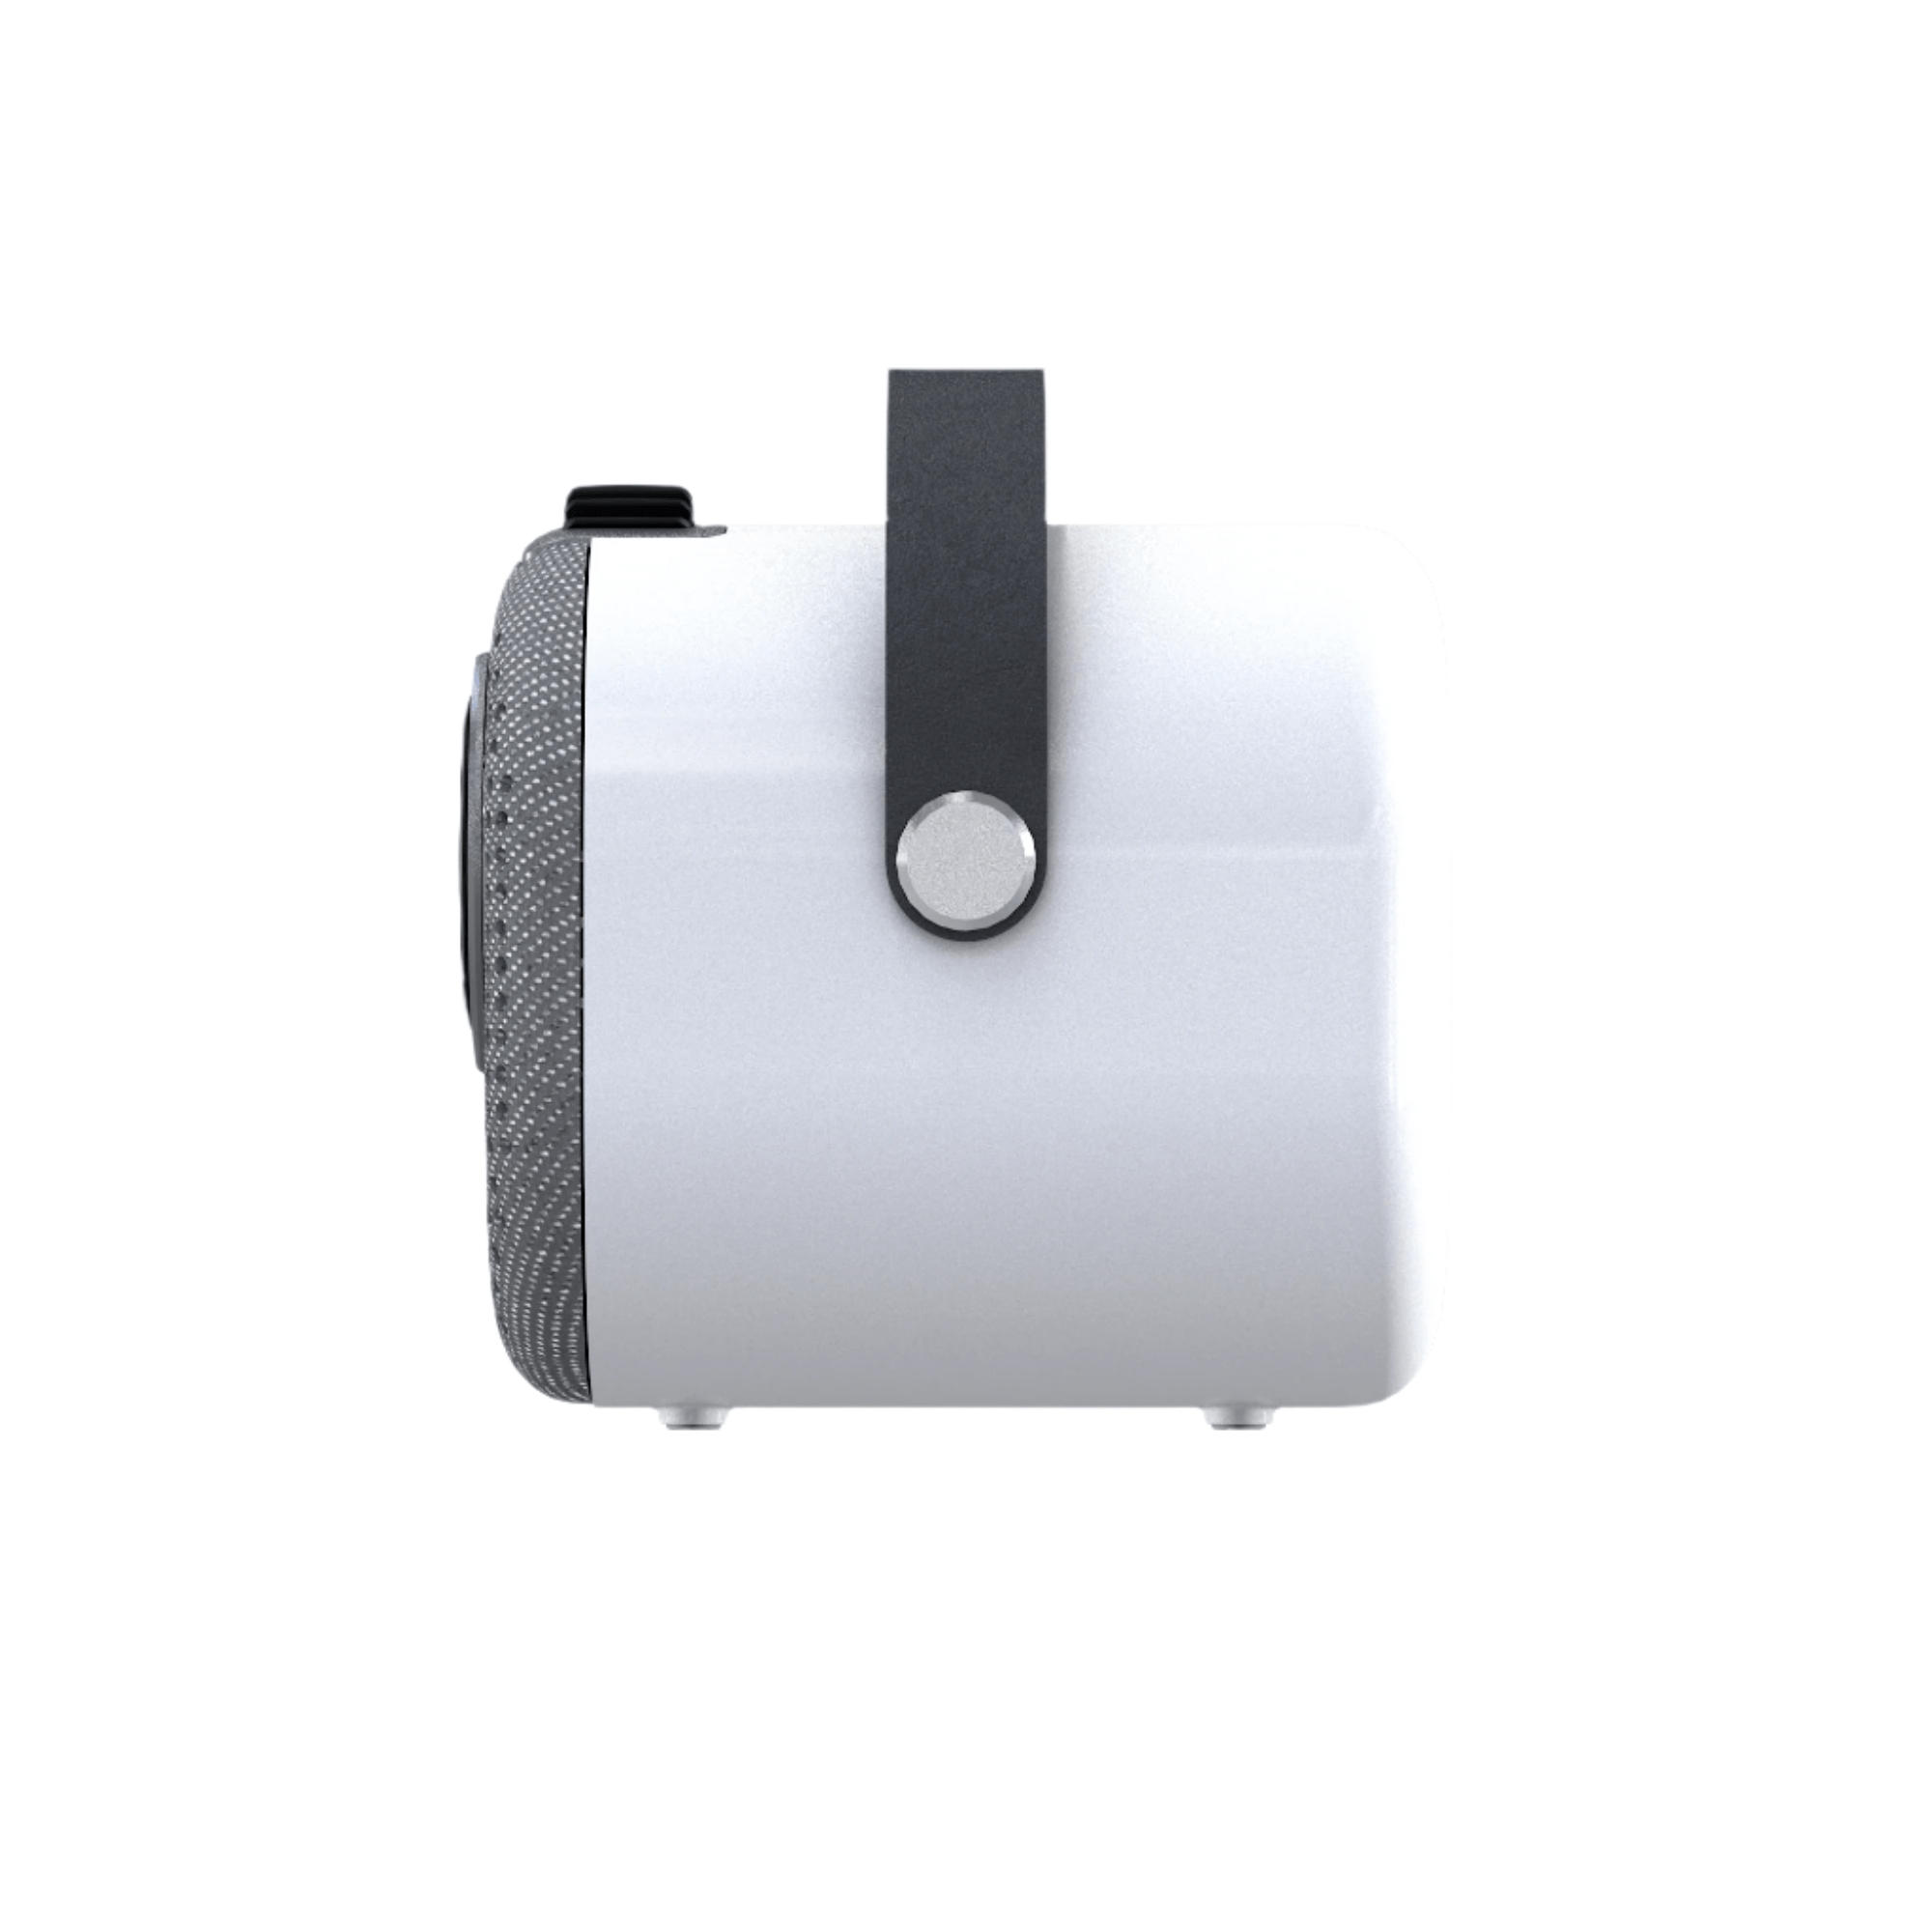
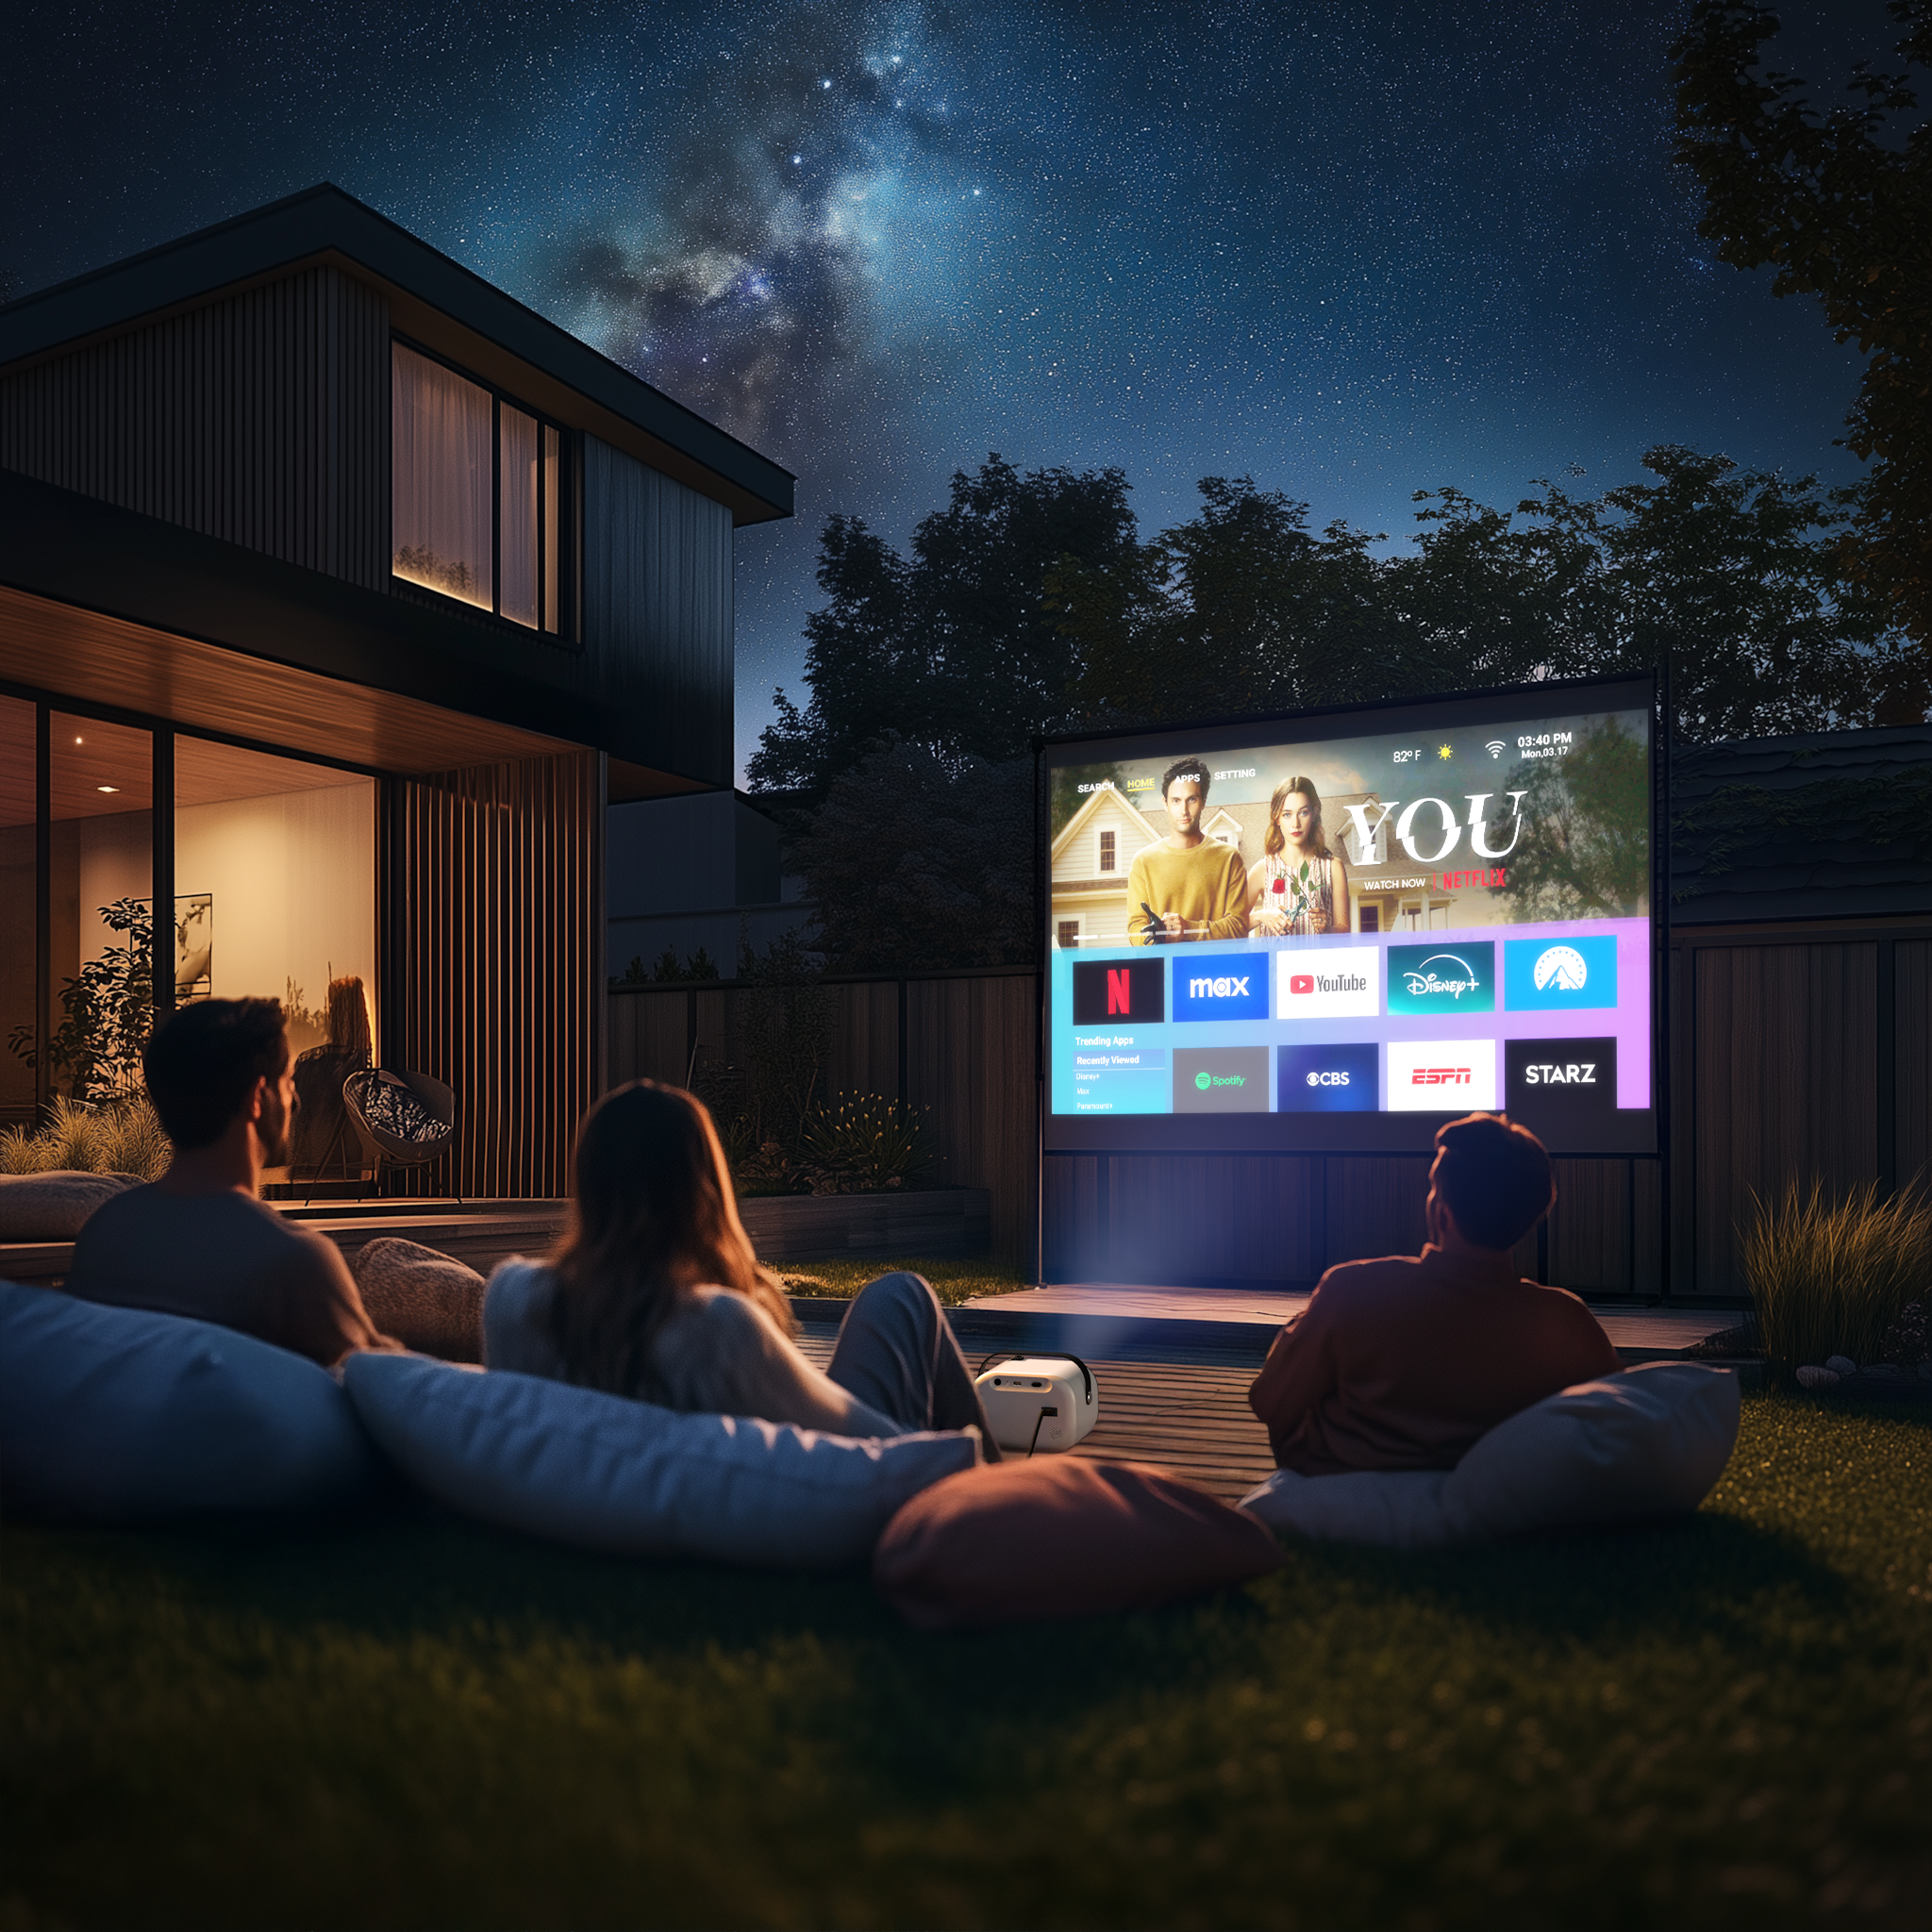
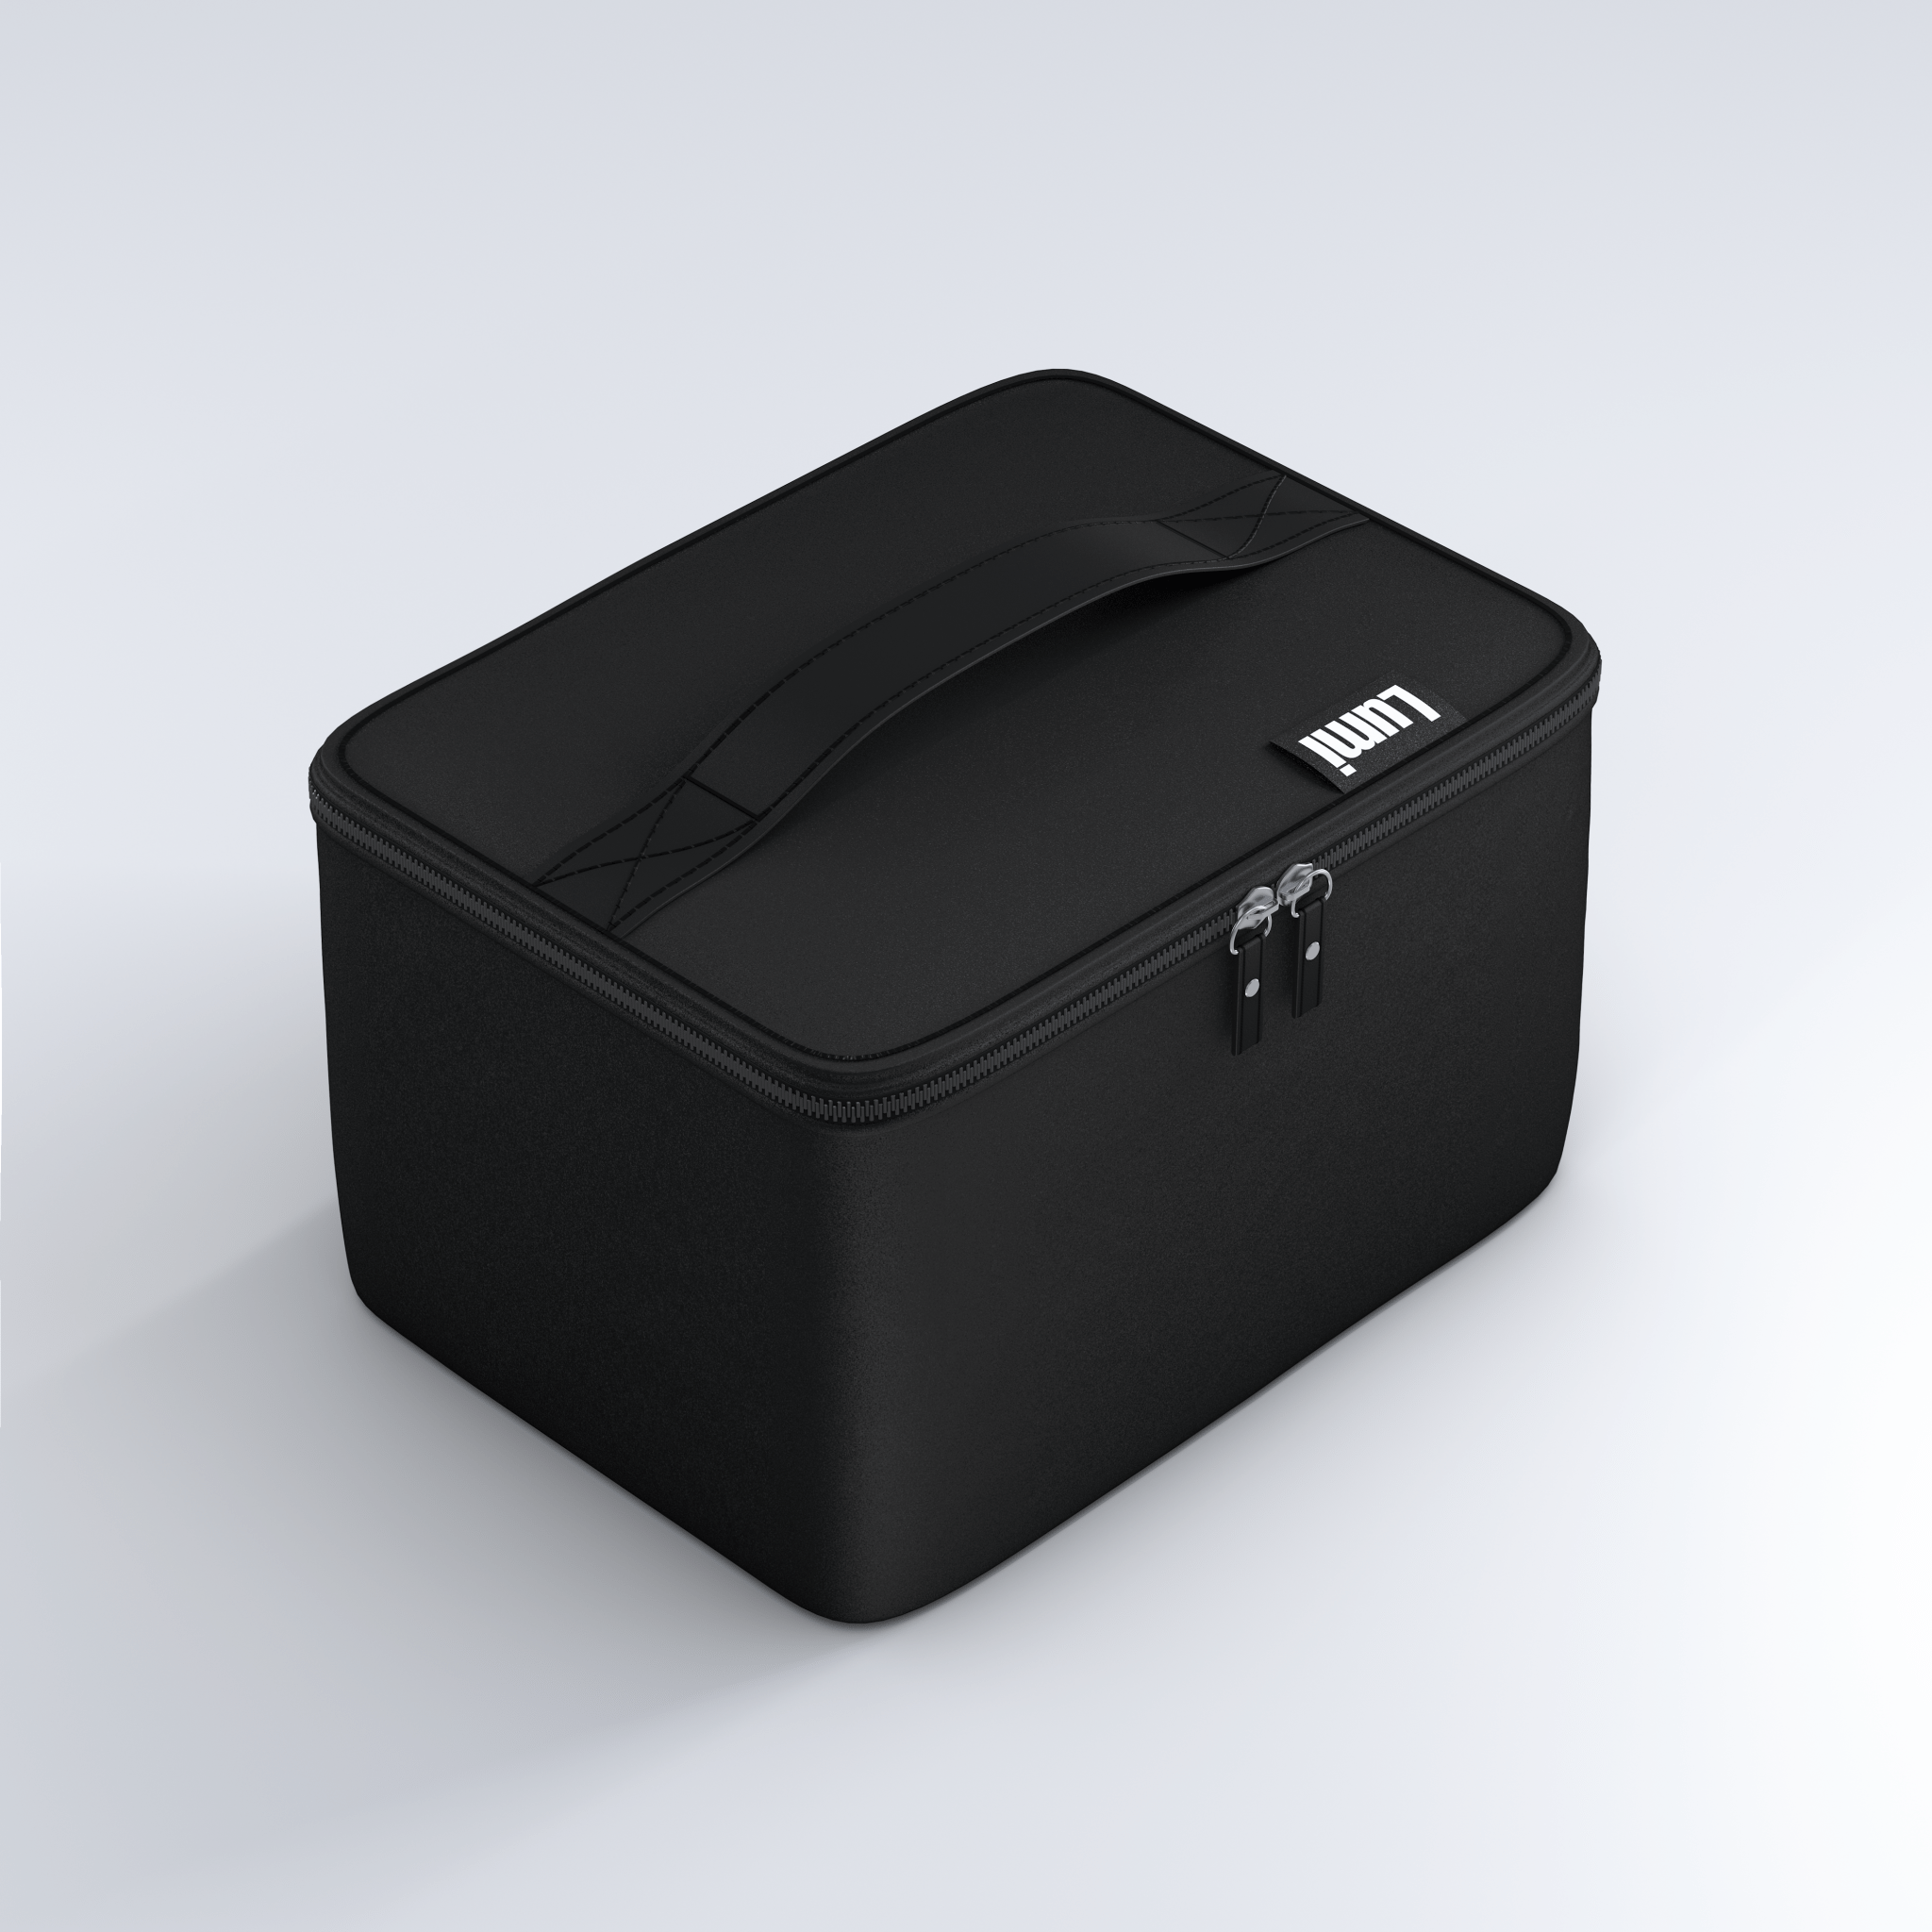
Powerful, Portable, Playful.
LUMI-1 packs powerful tech into a tiny 2.8lb frame with attached carry strap for easy portability.


LUMI-1 Bundle
Bundle & save 5% off your order!


Product Specifications
Product dimensions
7.5 x 5.12 x 5.51 inches
Product weight
2.75 lbs
Light source
58W White LED
Brightness
200 ANSI Lumens
Resolution
1920*1080P Full HD (4K compatible)
Contrast ratio
6000:1
Throw ratio
1.4:1
Aspect ratio
16:9
Display size
50-200"
Focus
Manual Wheel
Keystone correction
Manual 4-point keystone
Operating System
Android 9.0
Total power consumption
58W
Power input
AC100-240V built-in power board
Speakers
5W x 2 Subwoofer Surround Sound Speakers
Device interfaces
RAM
2G DDR3
Storage
32GB
Mounting types
FAQs
Please read our FAQs page to find out more.
What is included in the box?
The package includes the Lumi 1 Smart Projector, a power adapter, a tripod. a remote control with batteries, a user manual, and stellar customer service by reaching out to hello@grablumi.com!
Is it battery powered?
Lumi-1 requires an external power source such as a nearby power outlet or a portable power bank with an AC outlet.
How to start up your Lumi-1
- Place at a distance of >5ft.
- Plug in and press the power button
- Wait for the boot-up Lumi logo to disappear
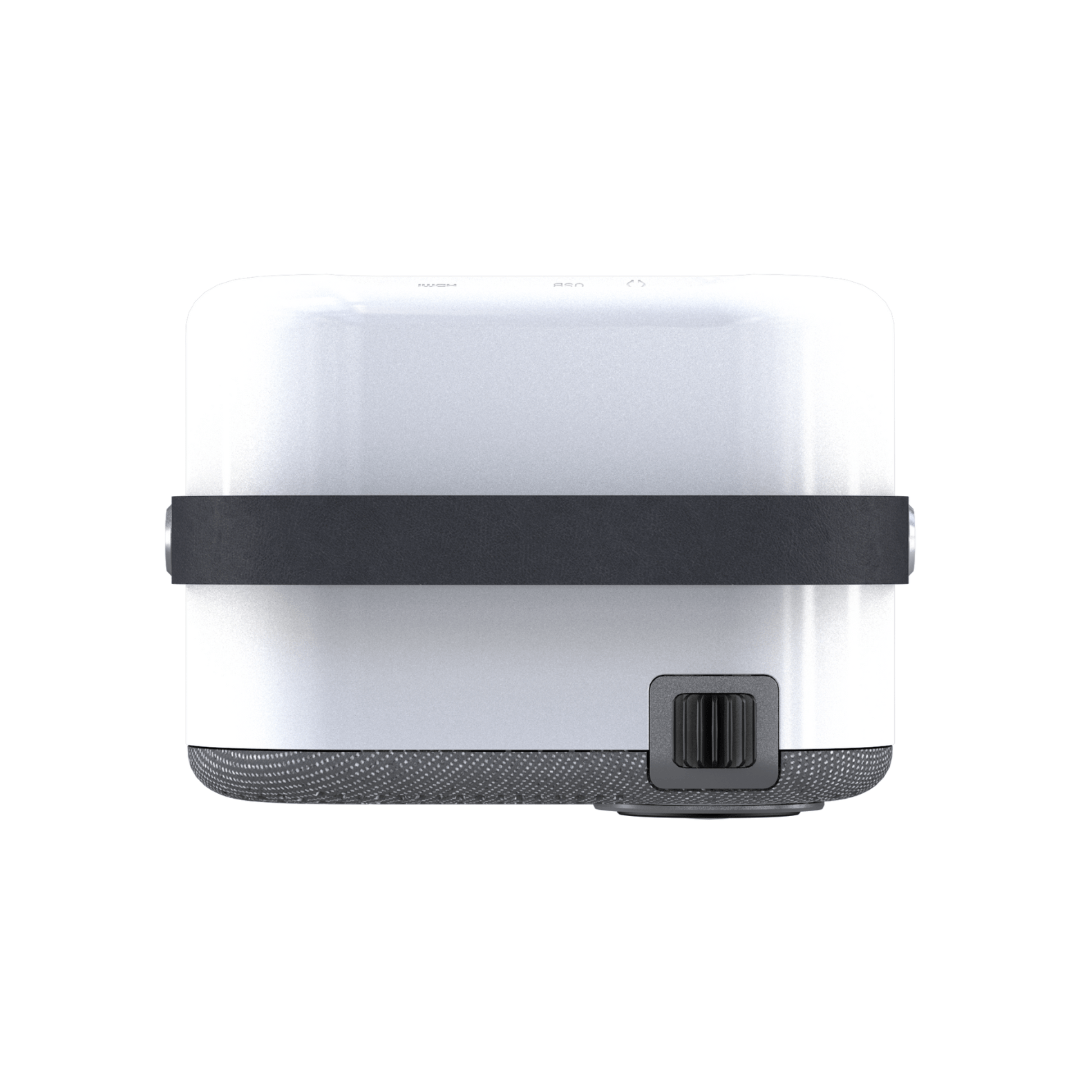
- Adjust lens focus by turning the wheel on the device
How to use a smart streaming stick with Lumi-1 (ie. Roku, Firestick, etc)
- Plug in the stick to Lumi's back-side HDMI port
- Plug in the stick's power cable to back-side Lumi's USB port
- With Lumi's remote - click up arrow and navigate to SETTINGS -> SOURCE -> select HDMI
- You're good to go!
- Use the stick's remote to navigate the interface and apps (connect to WiFi in its settings section)
- Please note: you will still use Lumi's remote to control volume and adjust the projection image settings such as keystone correction.
- Click the HOME button on Lumi's remote to return to Lumi's interface at anytime.
How to set up a Google TV media stick
- Plug in your media stick to Lumi’s back-side HDMI port & USB port
- Click up arrow on the Lumi remote → “SETTING” → “SOURCE” → “HDMI”
- A Dolby Audio pop-up may appear – use the Lumi remote to select “OK”
- Use the Google remote to navigate the Google TV interface going forward
- Follow the on-screen instructions to download & set up the Google Home app
- When prompted to “Control volume and power with Google TV Stick’s remote” – select "Not now"
- Your apps selected via the Google Home app will install & automatically login if connected to your Google account
- Select “Go to Google TV”
- Click the gear icon in top right of the Google remote → “All settings” → “Display & Sound” → “Advanced sound settings” → select "None"
- Use the Lumi remote to turn up to max volume
- Click the home icon in the center of the Google remote to return home – you're good to go!
- You can now use the Google remote to navigate, control volume and voice control
NOTE: you can also use the Google Home app as a remote control and to cast content from your phone to Lumi
How to adjust the keystone correction
AUTO KEYSTONE:
- go to SETTINGS → PROJECTOR IMAGE SETTINGS → AUTO TRAPEZOID
MANUAL KEYSTONE:
- go to SETTINGS → PROJECTOR IMAGE SETTINGS → NO AUTO TRAPEZOID:
4 POINT KEYSTONE
- manually adjust the image corners
HORIZON & VECTOR KEYSTONE:
- click to adjust the horizontal and vertical sliders
Optionally adjust zoom % in this SETTINGS section as well
How to adjust the image focus
Once the image is projecting, simply turn the scroll wheel on top of Lumi's frame to adjust image focus to full clarity
Does Lumi-1 support Google TV and/or YouTube TV?
Lumi-1 does not offer Google TV or YouTube TV. You may use a smart streaming TV Stick to access these apps and many others outside of the Lumi-1 native app offerings.
Check out our Lumi Max for the full Google TV software experience!
How to wirelessly display from your iphone (iOS only)
- Ensure your phone and Lumi are connected to the same WIFI (or connect Lumi to your phone’s hotspot)
- Go to APPS → MY APPS: Select CoolAirMirror (for iPhone)
- Select LUMI
- On you iPhone, select the mirror icon - you're all set!
How to use Bluetooth to connect to an external speaker or other audio device
iPhone Connections:
- Setting > Settings > Bluetooth Settings > Add Accessory > on your phone look for "Projector_BT"
Speakers:
- Setting > Settings > Bluetooth Settings > Add Accessory > select from the menu on the screen > pair
How to set the default signal source of Lumi after booting (e.g. HDMI by default)
- Go to SETTINGS → SOURCE → choose HDMI/USB
- Press the HOME button to set and return
Can I watch content if I'm not on WiFi?
Yes, there are several ways!
Amazon's Prime App:
- Open your Prime app
- Click the mouse button on the remote to enter mouse mode (just above the volume down button)
- Scroll to the username field, select & enter your user name then do the same for password & sign in
- While still in mouse mode, navigate to DOWNLOADS (bottom of the screen).
From there you will be able to select which movies/shows you'd like to download. (Remeber to toggle between enable/disable mouse mode while scrolling thru the library). They will be waiting for you when you're offline & want to watch!
Netflix App:
- While on WiFi, sign in to Netflix & navigate to DOWNLOADS.
From there you will be able to select which movies/shows you'd like to download. They will be waiting for you when you're offline & want to watch!
USB Drive:
- Format your USB drive as Fat32
- Ensure you drive is not so full of your movies that Lumi cannot handle the size...maybe start with 4-5GB.
- Ensure that your "source" is set to USB in Lumi settings.
HDMI Cable connecting your laptop/ipad to your Lumi:
- See "How to connect to a laptop"
How to connect a laptop to Lumi
Plug in via HDMI and find screen options on the computer desktop, then one of 3 display modes:
Duplicate mode:
- computer and projector display the same screen
Extended mode:
- the projector displays the extended screen of the computer
Display only:
- Monitor 1: only display the laptop screen
- Monitor 2: only display the projector screen
How to change the Lumi system language
Go to SETTINGS → LANGUAGE SETTINGS → choose language
How to restore factory settings
Go to SETTINGS → FACTORY RESET → RESET
How to adjust brightness
Adjust brightness by:
- Clicking "Settings" Menu on home screen
- Click Source
- Click HDMI
- Hit the menu button (under the "red" power button on the remote control)
- TV Options
- Click "Picture Mode".
*This feature only allows brightness to change while watching content using the HDMI port
What is Lumi-1's latency and refresh rate?
Lumi-1's latency AND refresh rate is 60Hz
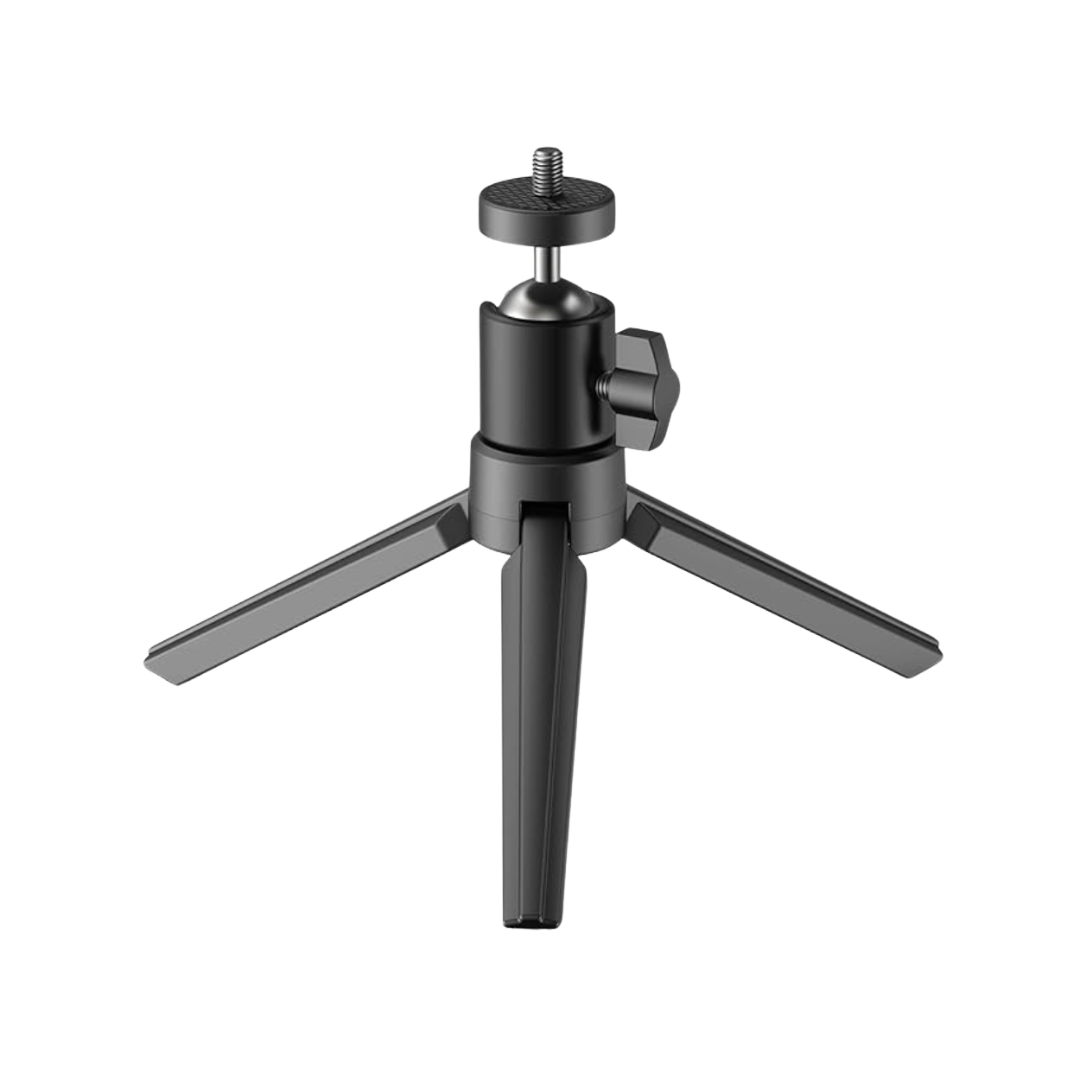
Does it come with a stand?
We include a tripod with the Lumi-1. This tripod will allow you to explore your best viewing angles - including straight up to the ceiling!
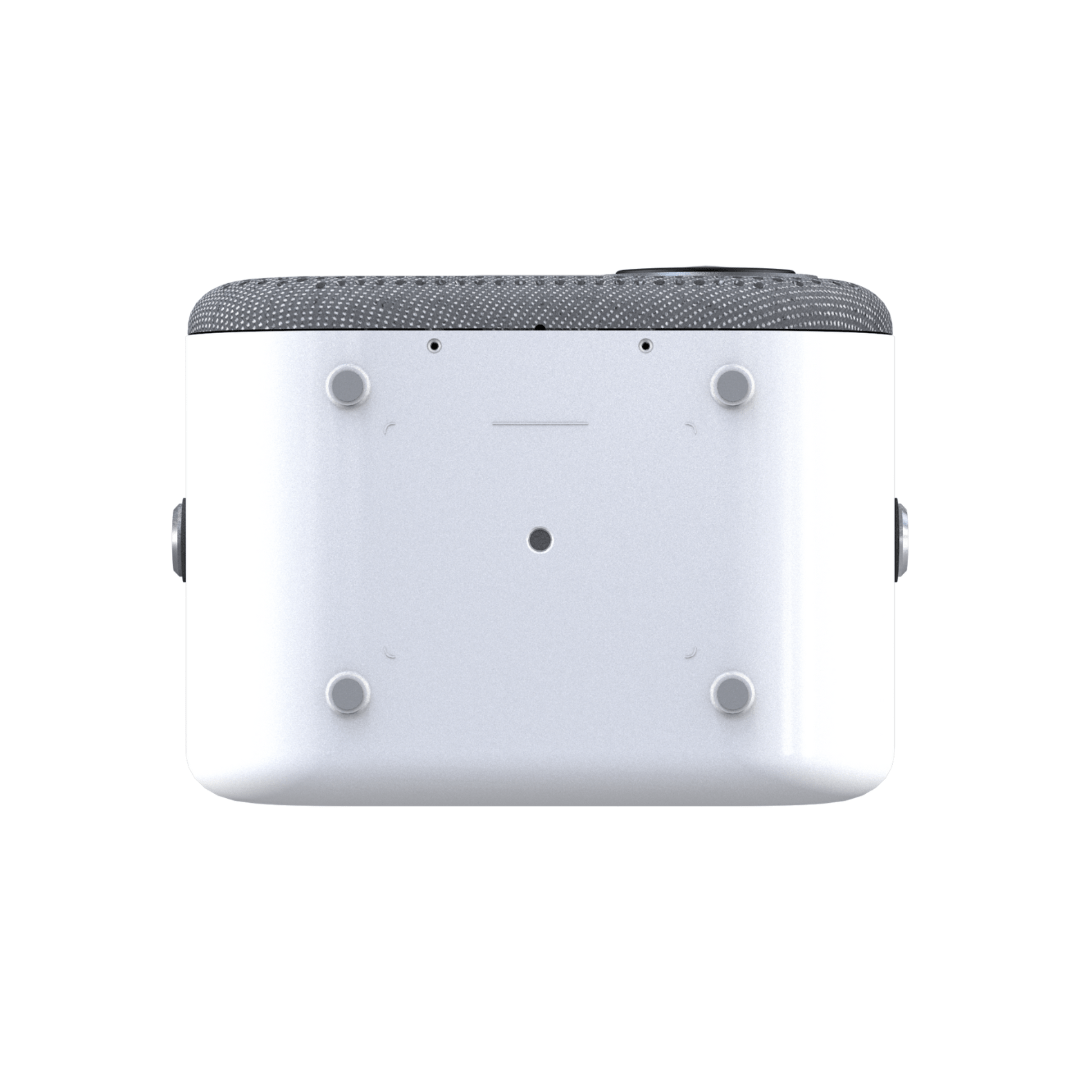
Can Lumi-1 be mounted to the ceiling?
Yes! The standard size tripod screw port (1/4") allows for multiple mounting scenarios.
Then you'll navigate to
- HOME > SETTINGS > OPTIONS > FLIP SCREEN to adjust your image accordingly.
Can Lumi-1 be set up for rear projection?
Yes! Navigate to
- HOME > SETTINGS > OPTIONS > FLIP SCREEN to adjust your image accordingly
Our 100" SIMPLE-SCREEN is the perfect companion for this!
Is there a warranty?
Lumi-1 comes with a 1-year limited warranty.