

Smart projectors have transformed home entertainment, bringing cinema-quality visuals right into your living room, backyard, or even your bedroom. But getting the best out of your smart projector isn’t just about unboxing it and hitting play. A few simple tweaks to your setup can drastically improve image quality, sound, and overall enjoyment.
Here’s a step-by-step guide to help you get the most out of your smart projector.
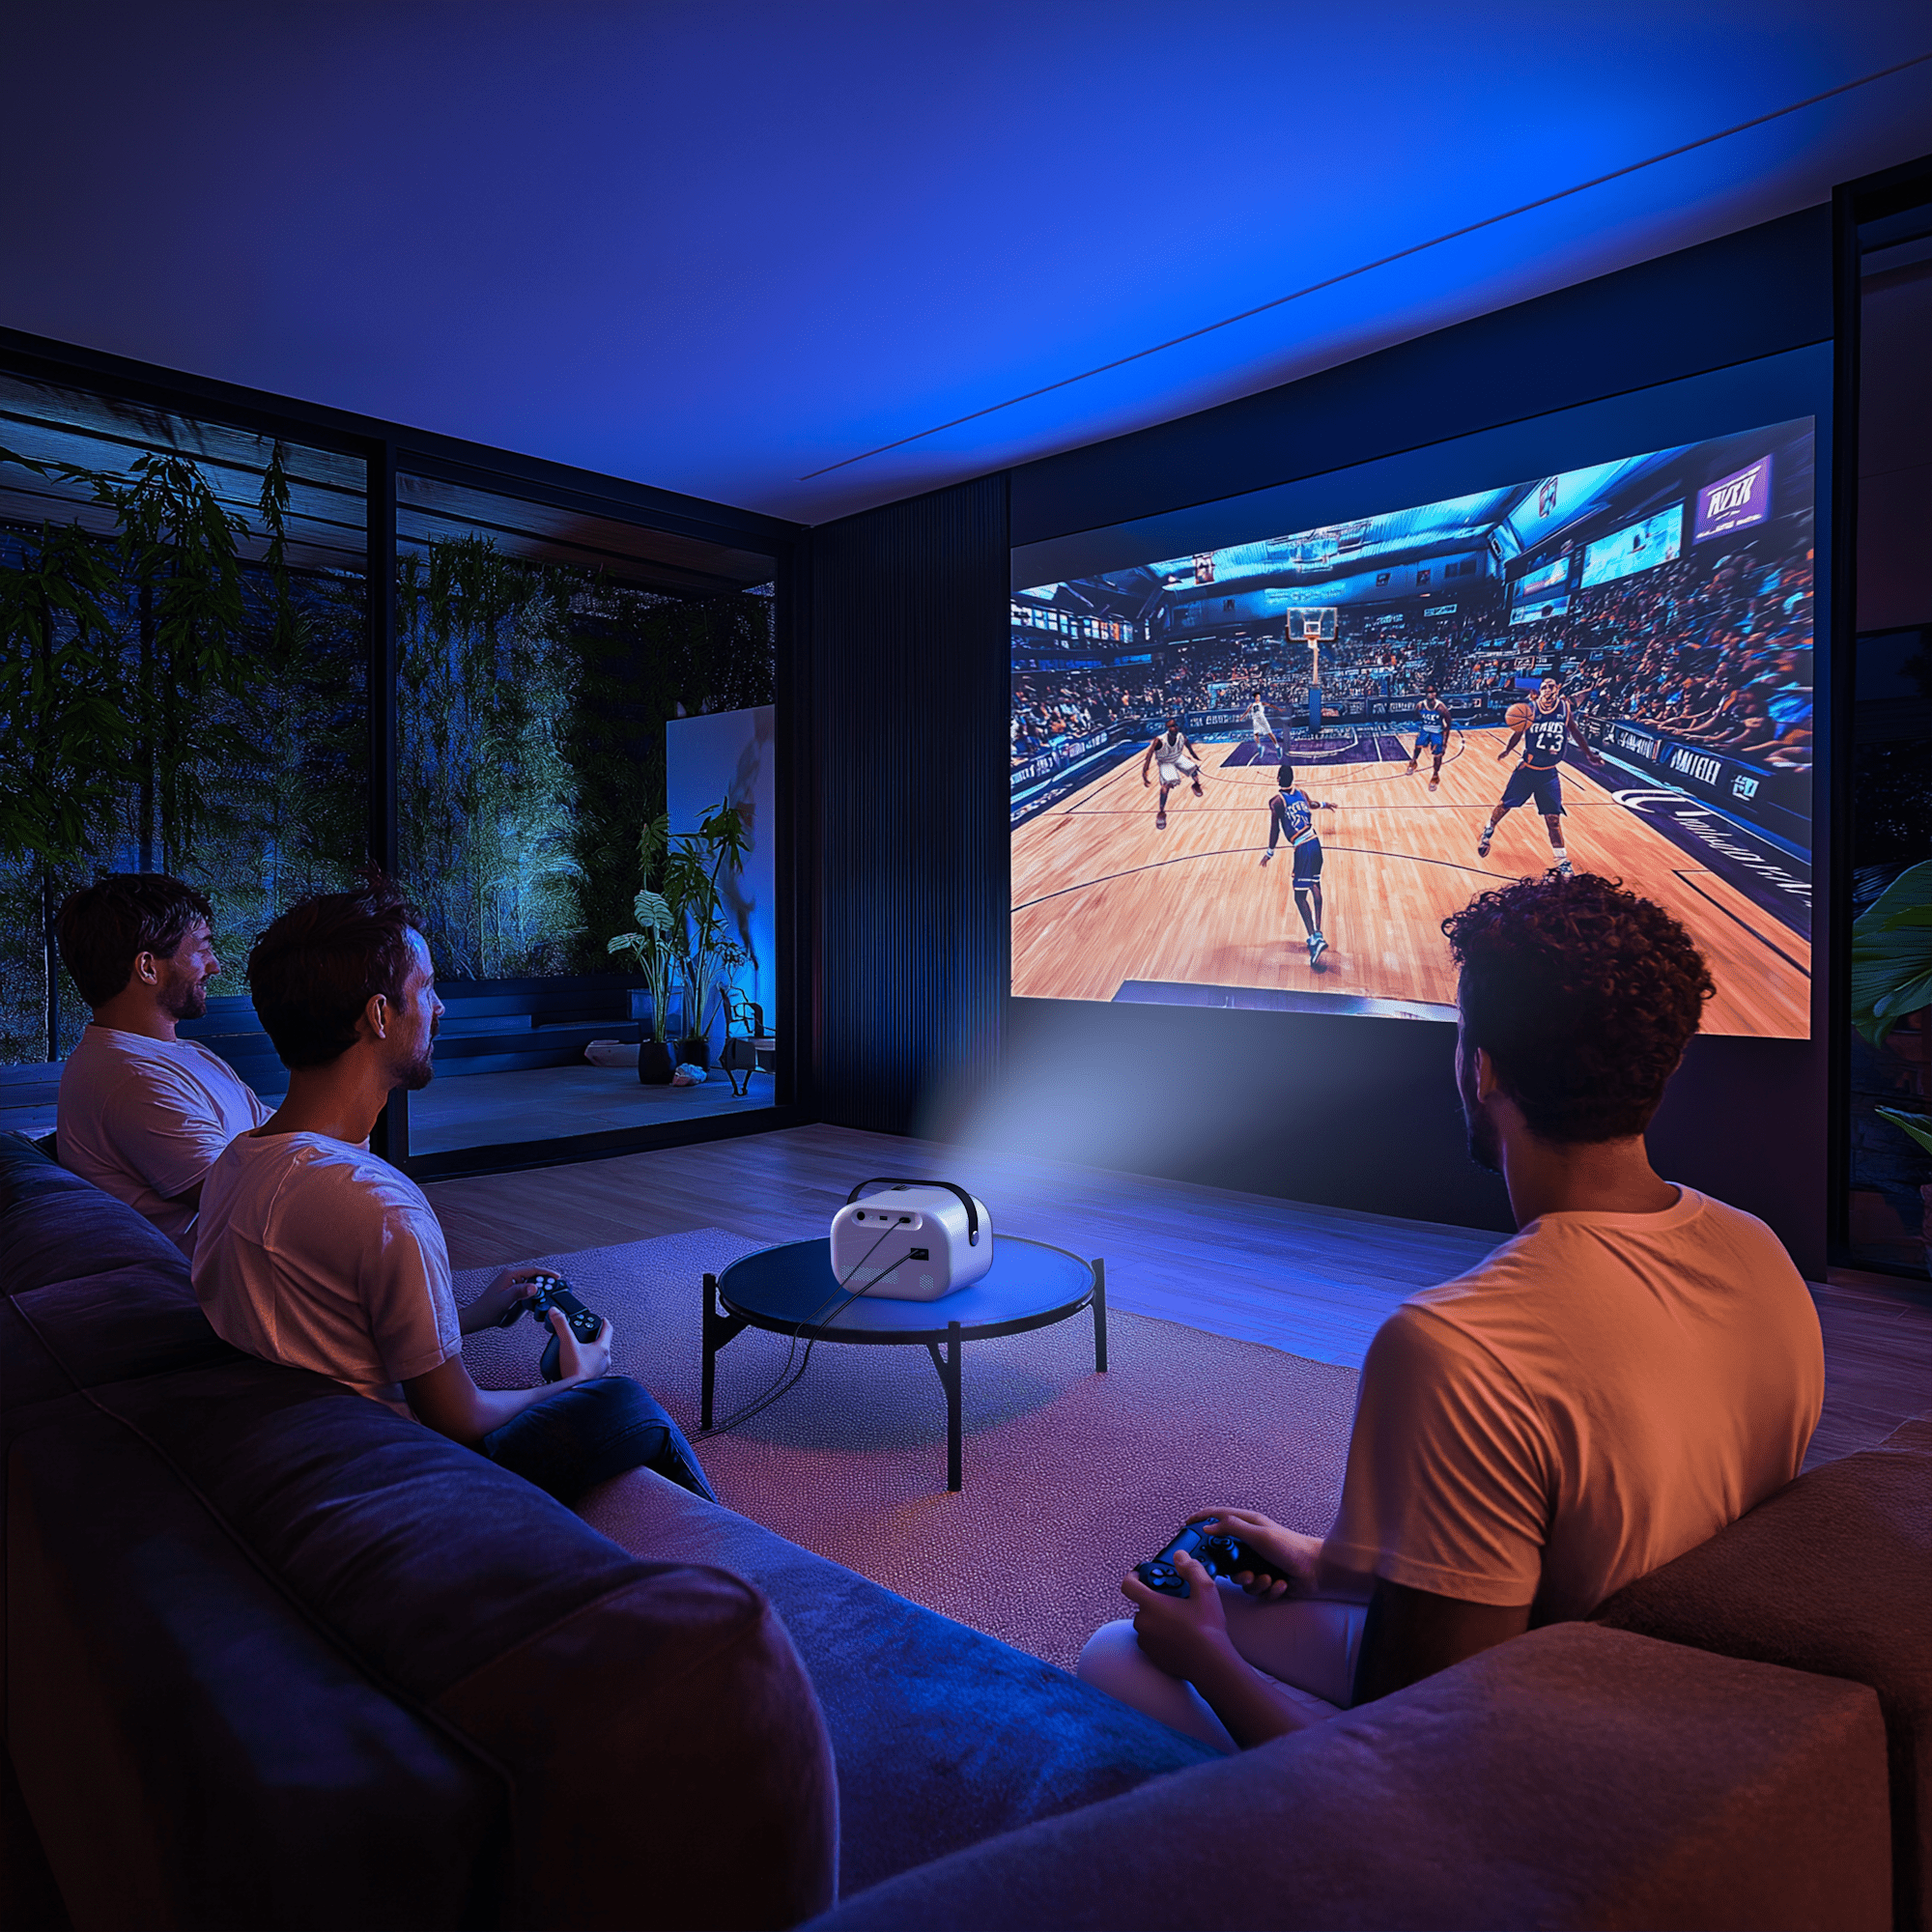
1. Choose the Right Location
Where you place your projector can make or break your viewing experience. Consider the following:
-
Distance to Screen: Every projector has a recommended throw distance. Measure the distance from the lens to the screen or wall to ensure it aligns with your projector’s specs. Did you know the Lumi projector has a projection distance range of 3-22 feet? This means you can project a screen size of 40-200 inches with this distance.
-
Room Darkness: Projectors thrive in low-light conditions. Choose a space where you can control ambient light (blackout curtains help a lot!).
-
Flat Surface: A clean, white wall works, but for the best quality, invest in a proper projector screen.
2. Use the Right Screen (or Wall)
A dedicated projector screen enhances color accuracy, contrast, and brightness. If you’re using a wall, make sure it’s:
-
Smooth: Texture can distort the image.
-
Neutral-colored: White or light gray works best for accurate color rendering.
-
Matte-finished: Glossy walls cause reflections and glare.

3. Position and Mount the Projector Properly
Depending on the projector’s design, you might place it on a table, ceiling-mount it, or use a tripod. No matter the setup:
-
Keep it level to avoid distortion.
-
Center it with the screen (both horizontally and vertically if possible).
-
Use keystone correction and lens shift to fine-tune the image if perfect alignment isn’t possible.
4. Adjust Picture Settings
Out of the box, your projector might be set to factory defaults that aren't optimized for your space. Tweak these:
-
Brightness and contrast: Adjust based on room lighting.
-
Color temperature: “Warm” settings are generally easier on the eyes.
-
Sharpness: Don’t overdo it; too much sharpness can create halos or noise.
Many projectors also come with presets like “Movie,” “Game,” or “Vivid.” Test these to see what works best for your content and lighting.
5. Optimize Wi-Fi and Smart Features
If your smart projector supports streaming apps like Netflix, YouTube, or Prime Video:
-
Ensure it's connected to a strong Wi-Fi signal.
-
Perform any available firmware updates to enhance performance.
-
Sign in and configure your streaming apps for seamless access.
You can also connect smart assistants (like Alexa or Google Assistant) if supported, to control playback and settings hands-free.
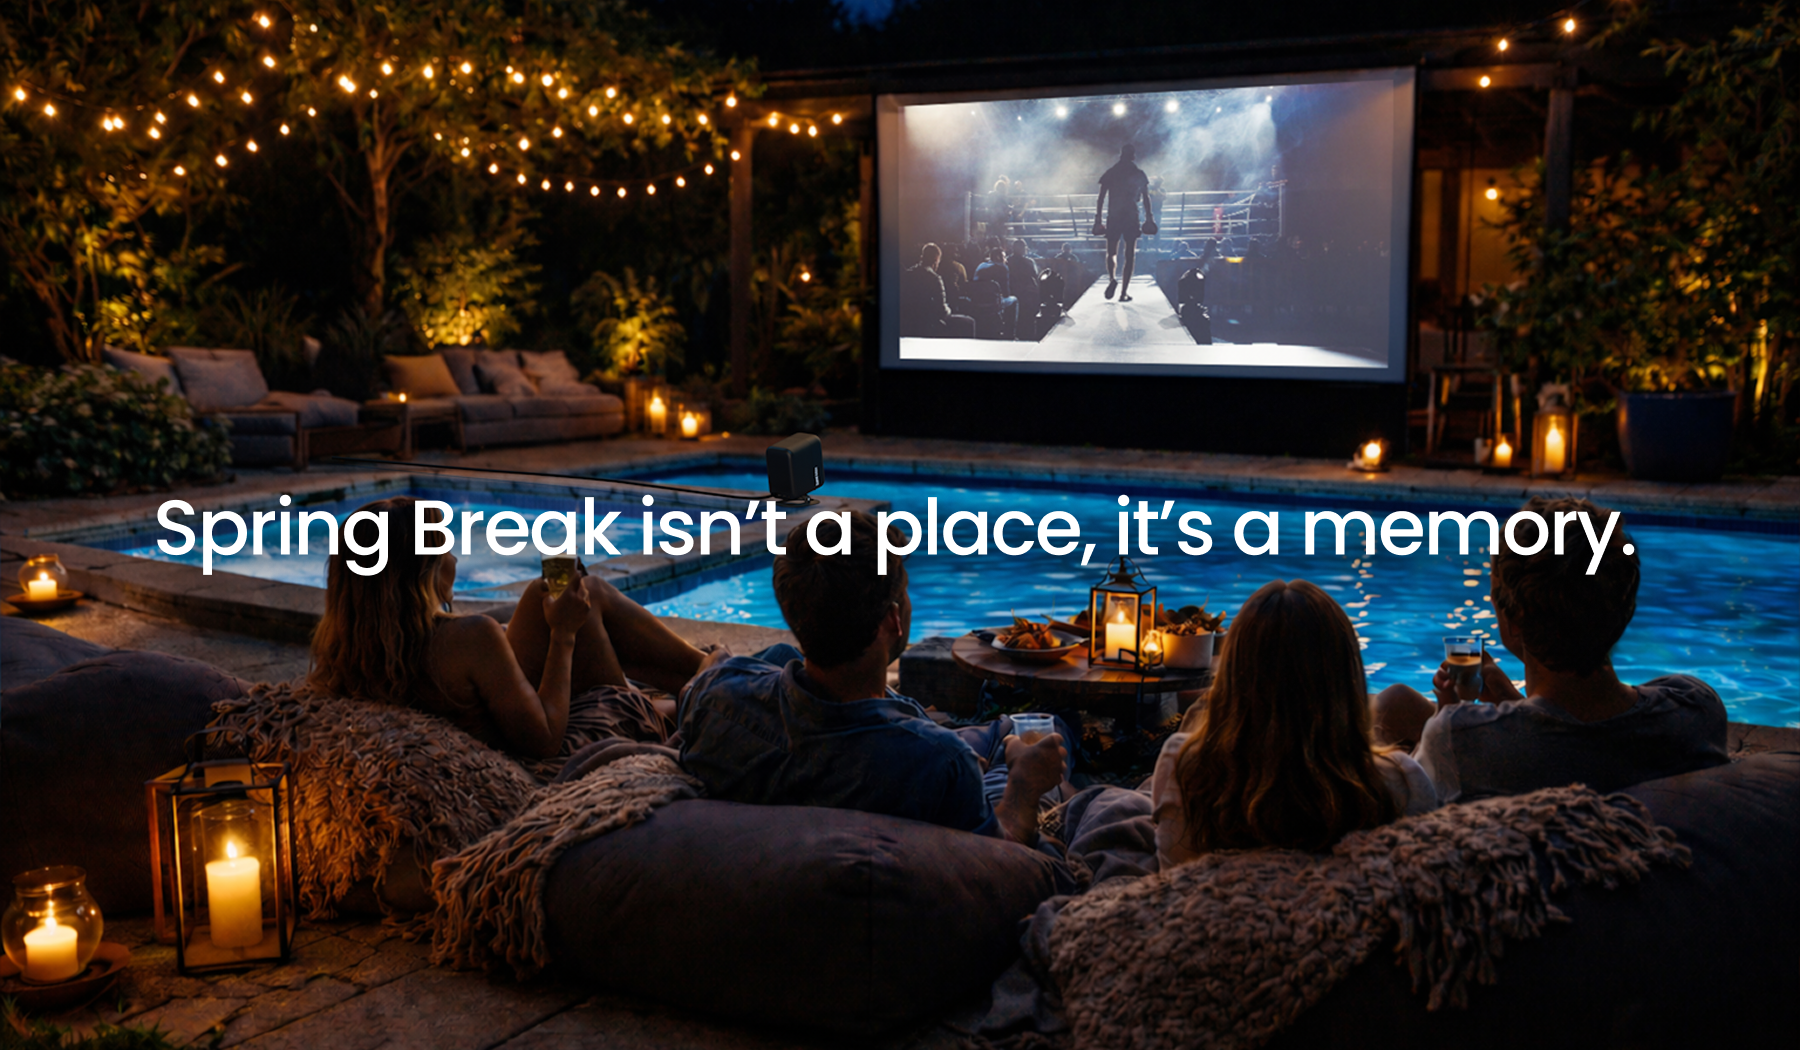
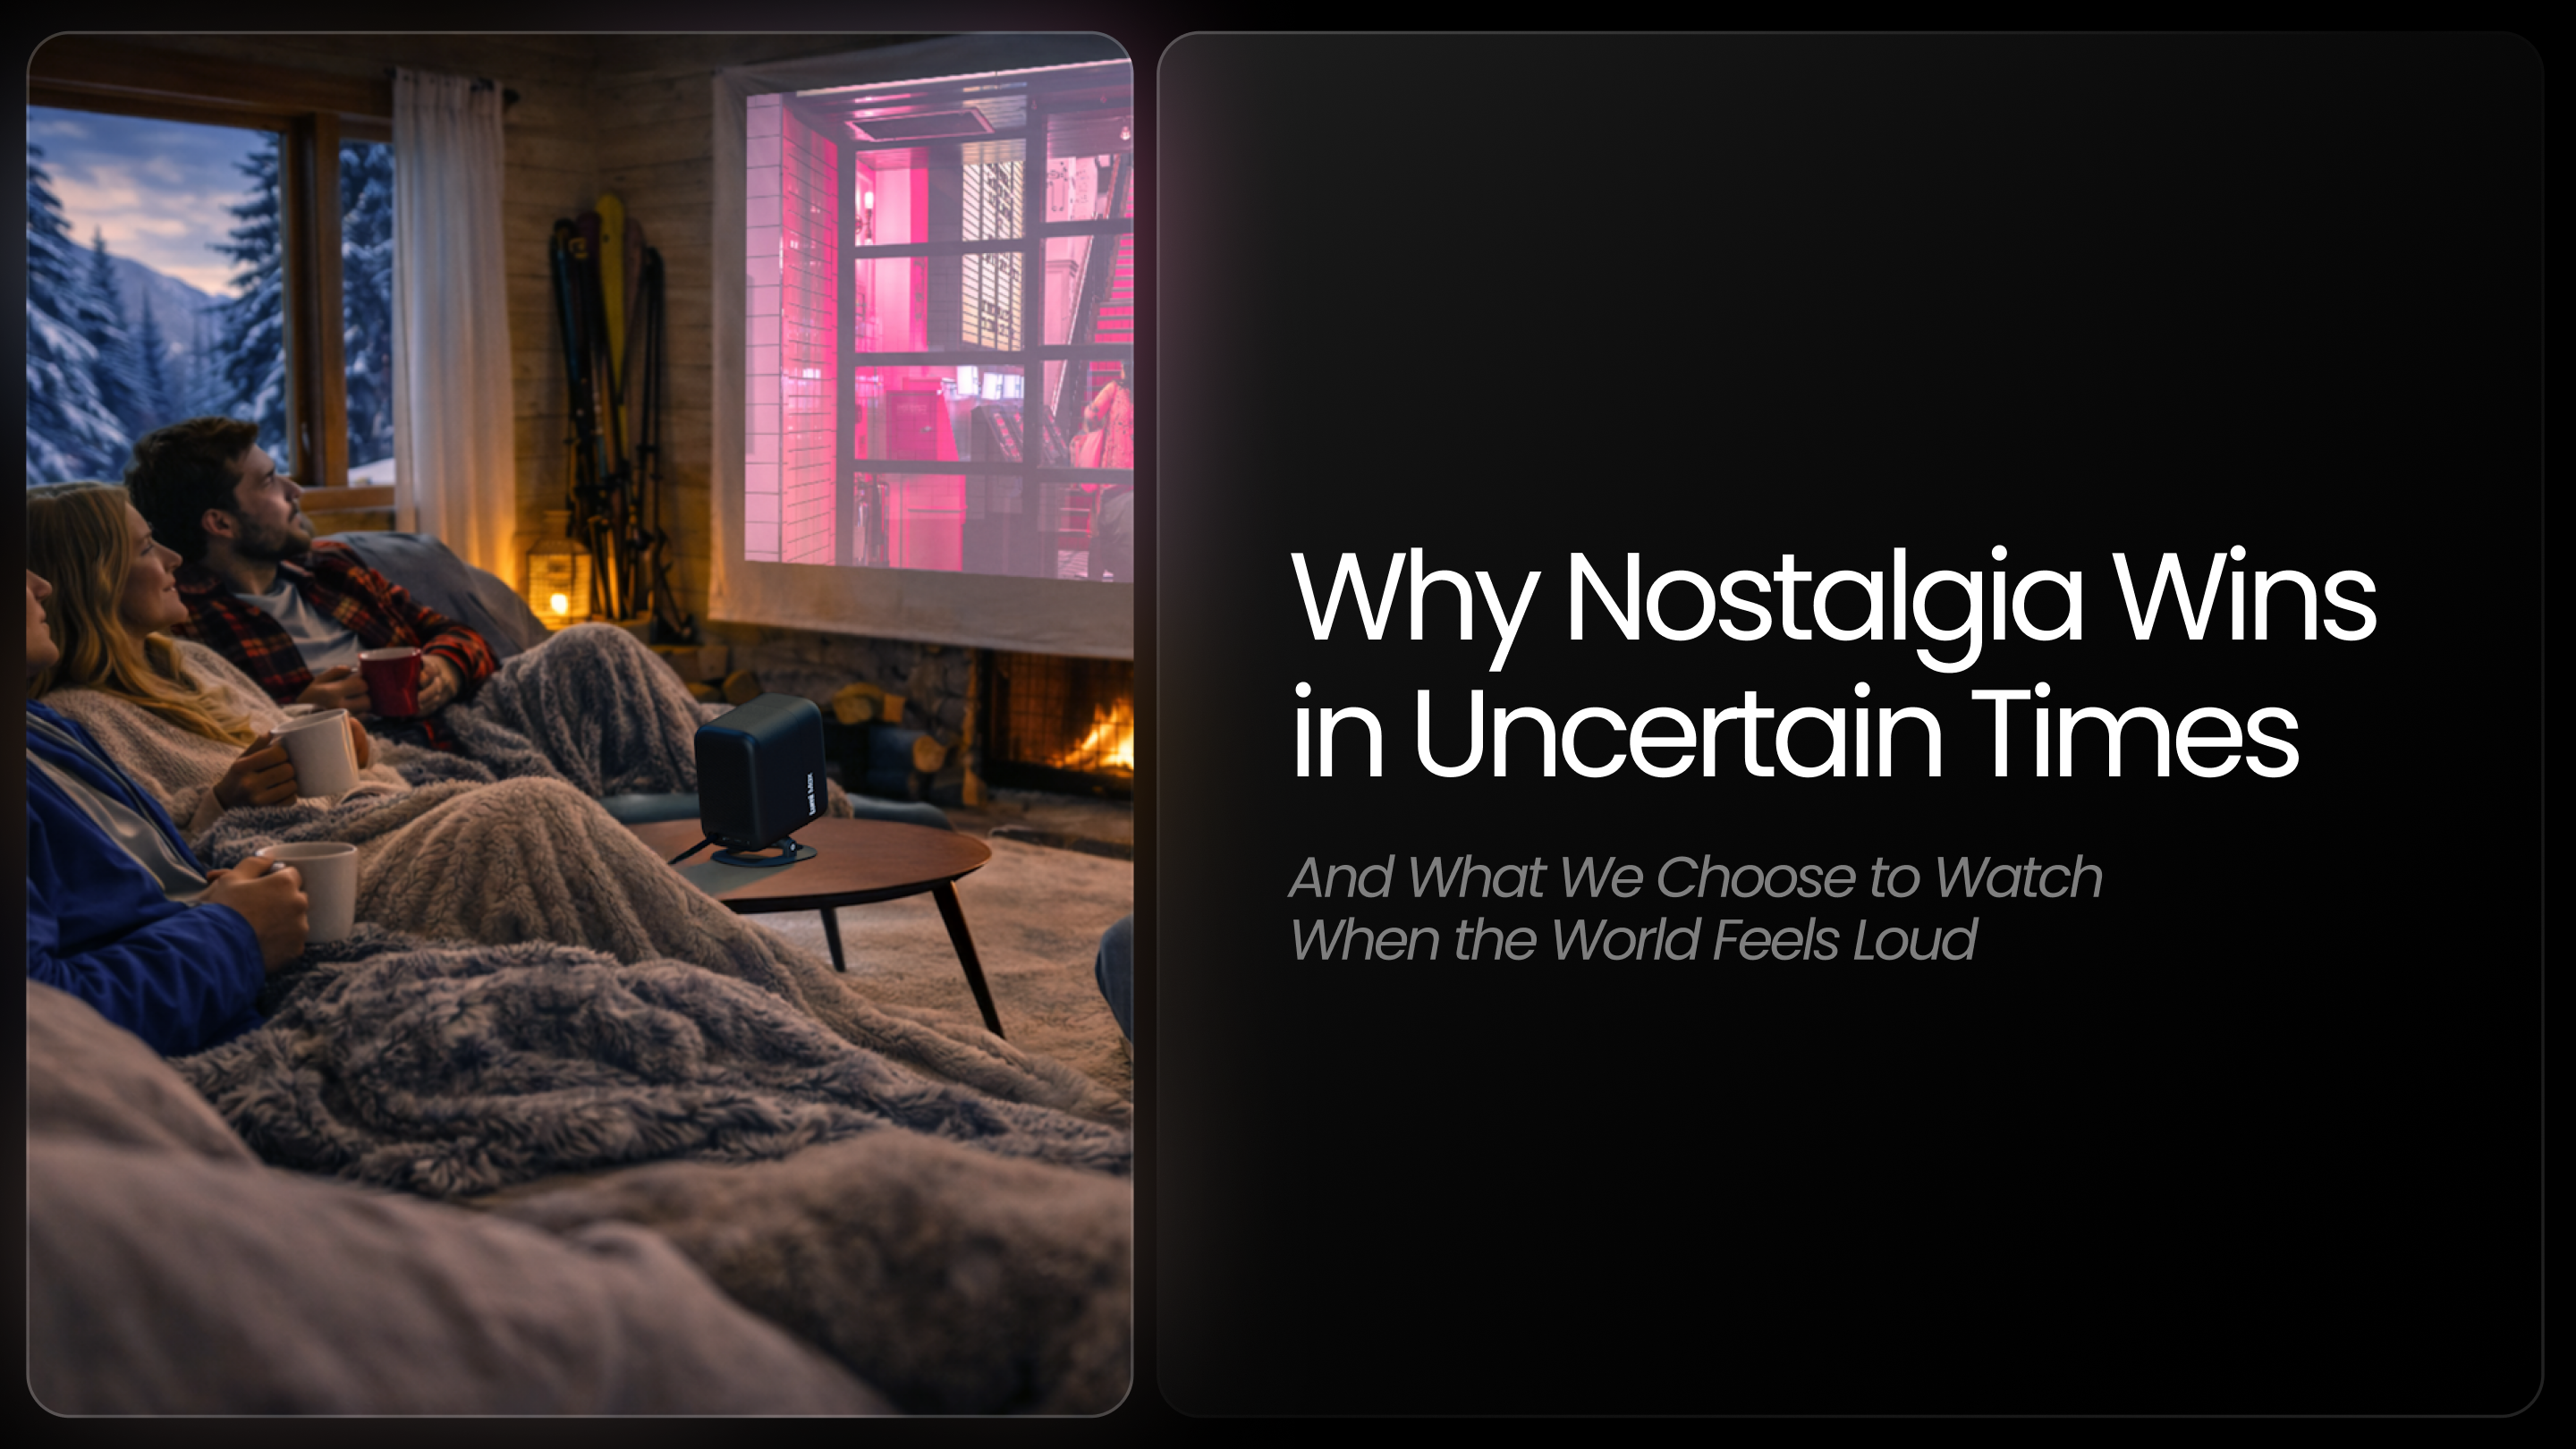
7. Create the Right Atmosphere
A great viewing experience is about more than just pixels and sound. Think ambiance:
-
Dimmable lights or LED strips can set the mood without washing out the screen.
-
Add cozy seating like bean bags, floor cushions, or reclining chairs.
-
Stock up on your favorite snacks and drinks—it’s movie night, after all!
Setting up a smart projector the right way can turn your space into a personal cinema, a gaming haven, or a presentation powerhouse. With the right adjustments and a little attention to detail, you’ll enjoy a crisp, vibrant, and immersive experience every time you press play.

Share:
Turn Any Room into Mom’s Creative Escape with Lumi
How to Turn Your RV Into a Mobile Movie Theater with Lumi